
To replace a Peloton crank arm, first secure the bike and remove the pedal. Next, use a crank puller to detach the crank arm from the spindle.
Exclusive Deals
Limited-time Exclusive Deals. Check current discount on Amazon.
Check Price on Amazon As an Amazon Associate I earn from qualifying purchases.Replacing a crank arm on your Peloton bike ensures smooth operation and maintains the integrity of your workouts. It’s a straightforward process that requires minimal tools and can save you from costly repairs if addressed promptly. Safe operation of your Peloton bike hinges on properly functioning equipment, and the crank arm is pivotal to this.
Regular wear and tear can warrant a replacement, and knowing how to perform this task could be an invaluable skill for maintaining your Peloton’s performance. With the right tools in hand—a crank puller and wrench—you can tackle this maintenance step at home, ensuring your bike is always in top condition for your next high-energy cycling session.

Credit: www.amazon.com
Exclusive Deals
Limited-time Exclusive Deals. Check current discount on Amazon.
Check Price on Amazon As an Amazon Associate I earn from qualifying purchases.Introduction To Peloton Crank Arm Replacement
Peloton bikes provide an unbeatable at-home workout. But, intense sessions can wear down parts like the crank arm. Knowing how to replace a Peloton crank arm keeps your ride smooth and safe. This guide covers the signs of wear and the tools needed for the job.
Signs Of A Worn Crank Arm
Regular checks of your Peloton’s crank arm are vital. Look for these signs that indicate a replacement is due:
- Unusual noises: Creaks or clicking sounds during pedaling.
- Visible damage: Cracks or bends in the arm.
- Loose feeling: The arm feels wobbly when you pedal.
Tools Required For The Job
To replace the crank arm, gather these tools first:
Exclusive Deals
Limited-time Exclusive Deals. Check current discount on Amazon.
Check Price on Amazon As an Amazon Associate I earn from qualifying purchases.| Tool Type | Specific Use |
|---|---|
| Crank Puller | Removes the crank arm from the spindle. |
| Allen Wrench or Hex Key | Unscrews the crank arm bolts. |
| Adjustable Wrench | Tightens the puller. |
Preparation Steps
Before diving into replacing the crank arm on your Peloton bike, some preparation steps are crucial. These ensure not only the safety of your equipment but also make the process smoother. Let’s break down these preparatory steps.
Securing Your Peloton Bike
Ensure stability and safety by securing your Peloton bike. Here’s how to keep it steady:
- Position your bike on a flat, even surface.
- Lock the wheels to prevent rolling or shifting.
- Use stabilizing mats if available, for extra grip.
Accessing The Crank Arm
Getting to the crank arm involves several simple steps. Follow these to access it properly:
- Turn off the bike and unplug it from the power source.
- Remove any clips or straps from the pedals.
- Locate the crank cap on the side of the pedal you want to replace.
- Use a crank puller or similar tool to remove the cap safely.
With these steps, your Peloton bike should be ready for the crank arm replacement procedure. Remember to handle all parts with care and keep track of any removed components.
Removing The Old Crank Arm
Time to say goodbye to the old crank arm. Regular use of your Peloton can lead to wear and tear. Sometimes, you must replace the crank arm to ensure a smooth ride. With a few tools and simple steps, you’ll get it done in no time.
Loosening The Crank Arm Bolt
Finding the crank arm bolt is the first step. It’s crucial for keeping everything in place. Grab your Allen wrench – it’s time to loosen that bolt.
- Turn off your Peloton bike for safety.
- Locate the protective cap on the crank arm.
- Remove the cap to reveal the crank arm bolt.
- Insert the Allen wrench into the bolt.
- Turn the wrench counter-clockwise to loosen the bolt.
Detaching The Crank Arm From The Spindle
With the bolt loosened, it’s time to remove the arm. This requires a crank puller – a special tool for this job.
- Thread the crank puller into the arm.
- Ensure it’s securely fitted to avoid damage.
- Turn the crank puller’s handle to pull the arm off.
- Keep turning until the arm slides off the spindle.
Now, the old crank arm is off. You’re all set to put on the new one. Follow these steps, and ride smoothly on your refreshed Peloton!
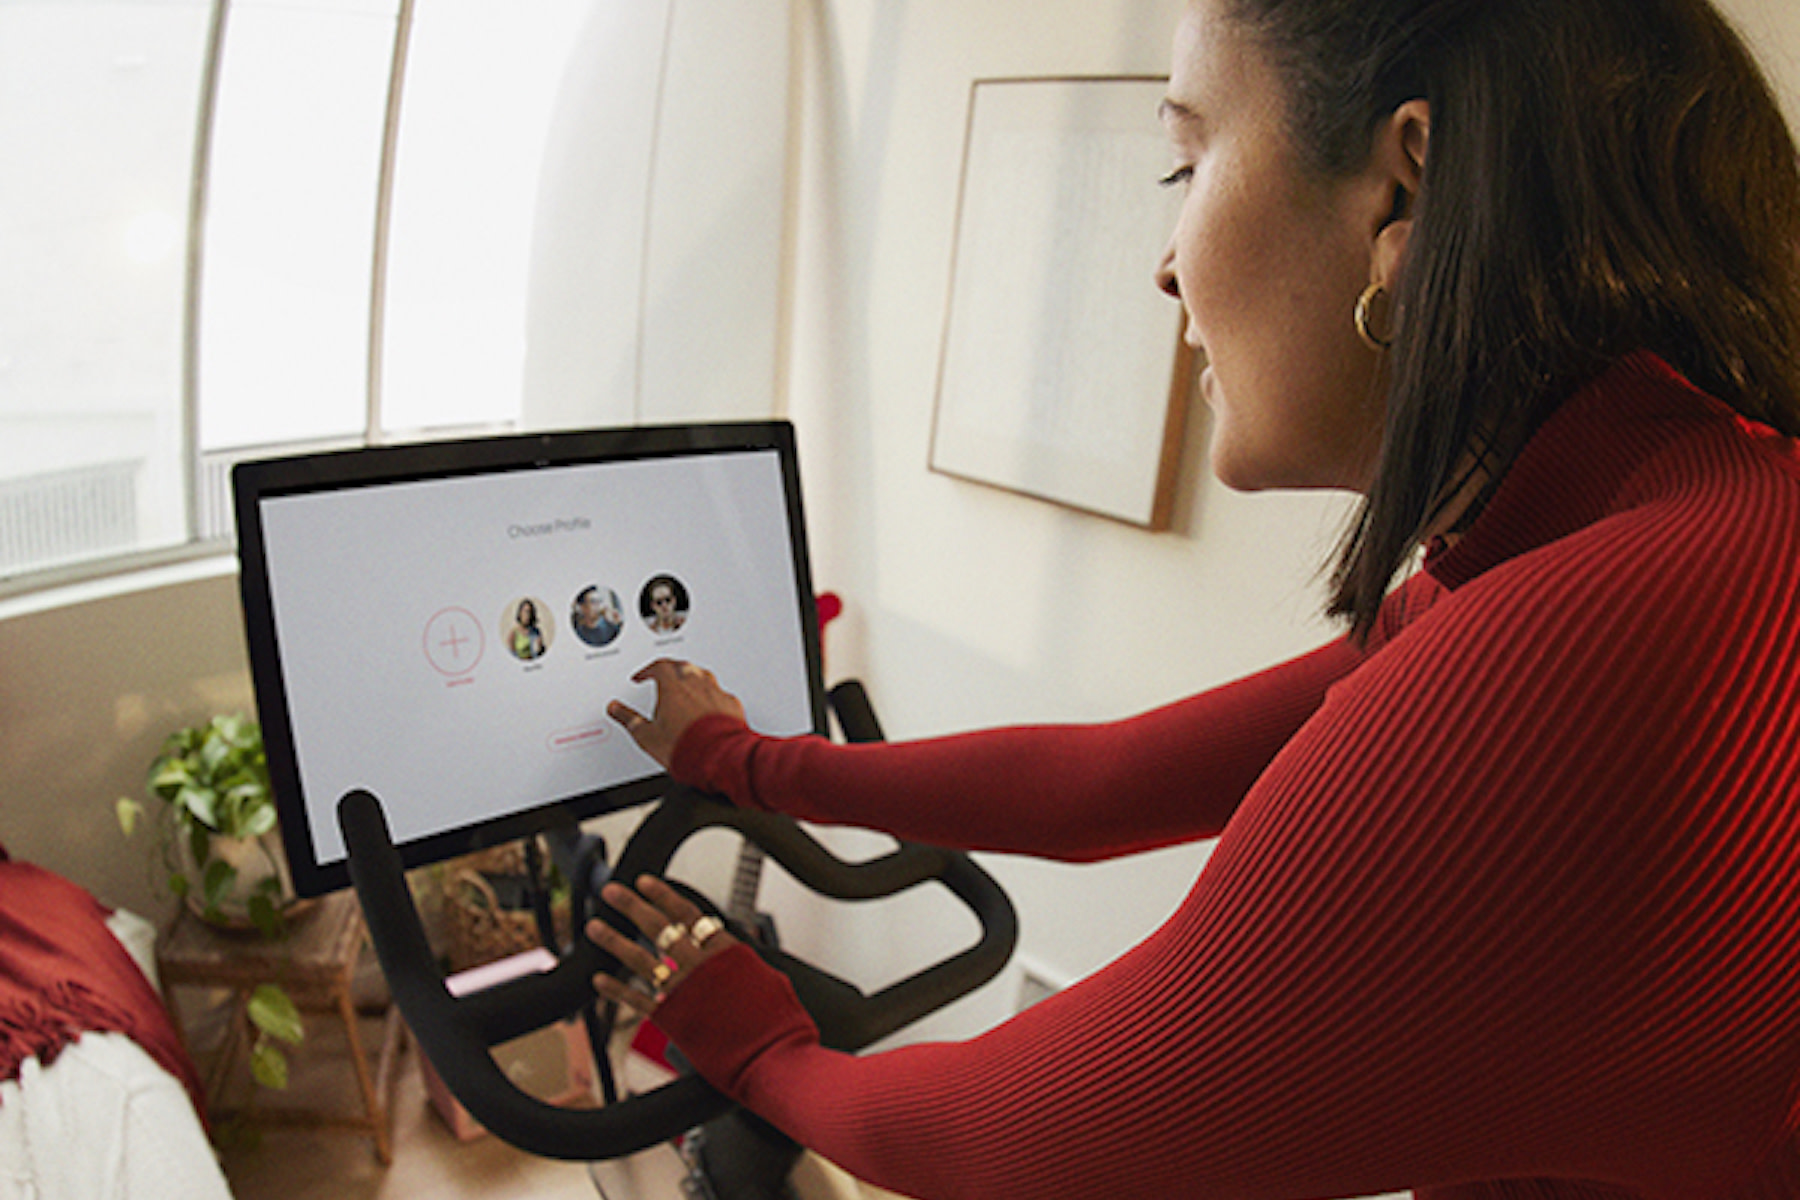
Credit: www.onepeloton.com
Installing The New Crank Arm
Getting your Peloton back in top shape means installing a new crank arm properly. Ensuring your ride is as smooth as the first day, it requires attention to detail and following the right steps. This guide walks you through each crucial stage with simple directions, from positioning the crank arm on the spindle to securing it firmly in place. Let’s get those pedals turning again with ease!
Proper Positioning On The Spindle
Start with the spindle, the metal rod the crank arm attaches to. Clean the spindle thoroughly before proceeding. Align the new crank arm with the spindle; the teeth inside the arm must match the spindle’s shape. Care should be taken to ensure it is straight and flush against the bracket. Here’s what to do:
- Remove any debris from the spindle.
- Match the square or diamond shape of the spindle with the crank arm.
- Push the arm onto the spindle until it is fully seated.
Securing The New Crank Arm
With the crank arm positioned, securing it correctly is next. This requires the crank bolt, which binds the arm to the spindle. You need a crescent wrench or Allen key for this step. Follow these bullet points for a tight, secure fit:
- Insert the crank bolt into the crank arm hole.
- Tighten the bolt by turning it clockwise.
- Use a torque wrench to ensure proper tightness.
- Follow the manufacturer’s specifications for exact torque.
Test the crank arm by pulling on it gently; it should not wobble or give. If it moves, re-tighten the bolt. Now, the new crank arm is set, and your Peloton is ready for action!
Post Installation Checks
Post Installation Checks are essential after replacing your Peloton bike’s crank arm. It ensures everything is secure and ready for a smooth ride. Follow these checks to guarantee your safety and the longevity of your bike.
Torque Specifications
Correct torque ensures your crank arm stays firmly attached during use. Refer to your Peloton manual for the exact specifications. Generally, torque should be between 35-50 Nm (Newton-meters). Use a torque wrench to tighten the crank bolt accurately. An over-tightened bolt could strip threads, while one not tight enough may lead to a loose crank arm.
Testing The Pedal Stroke
After adjusting the torque, it’s time to test the pedal stroke. Sit on your bike and slowly pedal. Feel for any wobbles or clicking noises. If you detect any irregularities, double-check your installation. Remember to align the crank arms at a 180-degree angle to each other for a flawless pedal stroke.
| Check | Description | Status |
|---|---|---|
| Bolt Tightness | Ensure bolt is at correct torque. | Complete |
| Pedal Stroke | Test for smooth rotation and no wobbling. | Complete |
| Crank Alignment | Check for proper 180-degree alignment. | Complete |
- Re-examine crank arm for secure fit after testing pedal stroke.
- Listen closely for unusual noises when pedaling.
- Observe for consistent pedal motion.
- Apply the torque wrench to the crank bolt.
- Adjust to the specified torque.
- Perform a pedal stroke test.
- Conduct a final safety check.
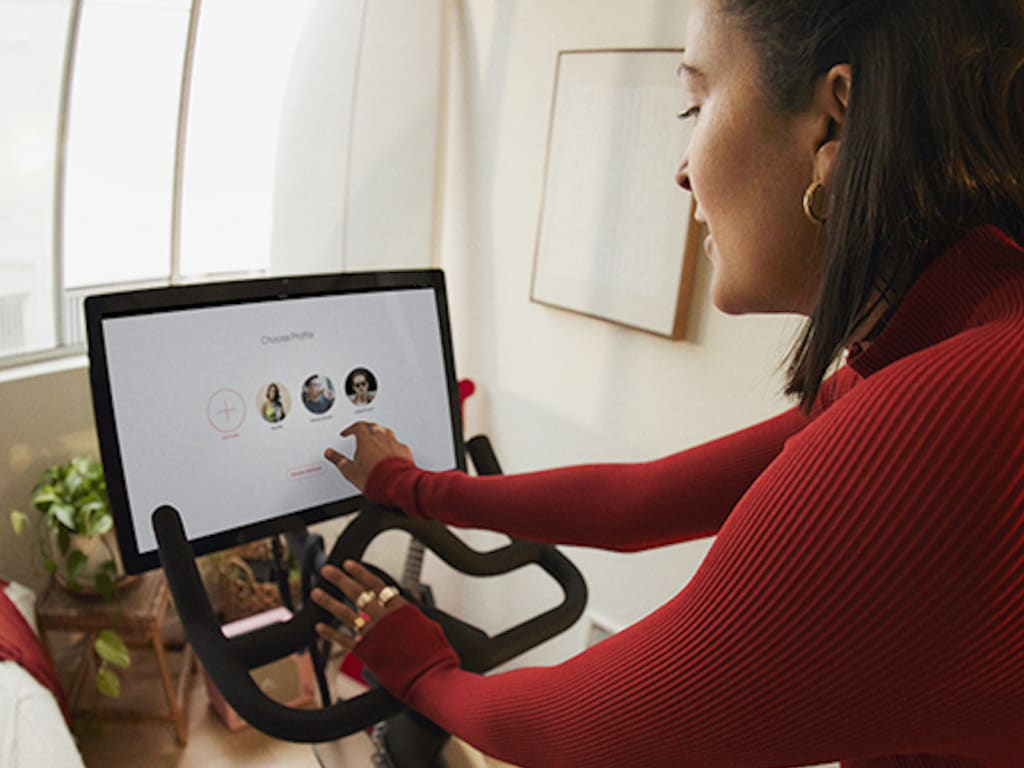
Credit: www.onepeloton.com
Maintenance Tips
Keeping your Peloton crank arm in top shape extends its life and enhances your workout. Follow these essential maintenance tips to ensure it stays in peak condition.
Regular Inspection Schedule
Check your crank arm regularly for signs of wear and tear. A simple schedule includes inspecting it:
- Before each ride – to catch any immediate issues,
- Weekly – for a more thorough check,
- Monthly – to compare against past inspections.
Mark these check-ups on your calendar to never miss them.
Proper Cleaning Techniques
Keeping the crank arm clean prevents buildup and protects integral parts. Follow these steps for a proper clean:
- Turn off and unplug your bike.
- Wipe down the arm with a soft, damp cloth.
- Avoid harsh chemicals that can damage the bike.
- Dry the arm with a clean towel after cleaning.
This routine will help maintain your Peloton’s performance and longevity.
Why Does My Crank Arm Keep Falling Off?
If your crank arm keeps falling off, it’s usually due to one of the following reasons:
Loose Crank Bolt: The most common reason for a crank arm to keep falling off is a loose crank bolt. The crank bolt secures the crank arm onto the bottom bracket spindle. If it’s not properly tightened, the crank arm can become loose and eventually fall off. Make sure the crank bolt is tightened to the manufacturer’s specifications using the appropriate tools.
Worn Crank Interface: Over time, the interface between the crank arm and the bottom bracket spindle can become worn, especially in square taper cranksets. This can cause the crank arm to loosen and eventually fall off. If you notice excessive wear or damage to the crank arm or spindle, it may be necessary to replace them.
Improper Installation: If the crank arm was not properly installed, it may not be securely attached to the bottom bracket spindle. Make sure you follow the manufacturer’s instructions for installation and use the correct tools and torque specifications.
Damaged Crank Arm: If the crank arm is damaged or bent, it may not sit properly on the bottom bracket spindle, leading to loosening and eventual detachment. Inspect the crank arm for any signs of damage and replace it if necessary.
Missing or Damaged Crank Bolt Washer: Some cranksets require a washer or spacer between the crank arm and the crank bolt. If this washer is missing or damaged, it can affect the tightness of the crank arm. Make sure all components are present and in good condition.
Over-tightening: While insufficient tightening is a common issue, over-tightening the crank bolt can also cause problems. It can damage the crank arm or bottom bracket spindle threads, leading to premature wear and eventual loosening. Always use a torque wrench to tighten the crank bolt to the manufacturer’s specifications.
If you’re unable to resolve the issue yourself, it’s best to consult a professional bike mechanic for further diagnosis and repair. They can inspect the bike thoroughly and determine the underlying cause of the problem.
Why Does My Peloton Creak When I Pedal?
A creaking noise when pedaling on a Peloton bike can be caused by various factors. Here are some common reasons and troubleshooting steps to address the issue:
Loose Pedals: Check if the pedals are securely tightened to the crank arms. Use a pedal wrench or hex key to ensure that the pedals are properly tightened. If they are loose, tighten them carefully.
Loose Crank Arms: If the crank arms are not securely attached to the bottom bracket spindle, they can creak when pedaling. Check the crank arm bolts and make sure they are tightened to the manufacturer’s specifications.
Bottom Bracket Issues: A creaking noise can also originate from the bottom bracket area if it’s worn out or improperly installed. Inspect the bottom bracket for any signs of damage or wear. If necessary, have it serviced or replaced by a professional bike mechanic.
Pedal Bearings: Worn or damaged pedal bearings can cause creaking noises. If you suspect the pedals are the source of the problem, consider replacing them or having them serviced.
Seatpost or Saddle Issues: Sometimes, creaking noises can be caused by the seatpost or saddle rubbing against the seat tube or seat clamp. Try adjusting the saddle position or lubricating the contact points to see if the noise improves.
Frame or Handlebar Components: Creaking noises can also emanate from other parts of the bike, such as the frame, handlebars, or stem. Check these components for any signs of looseness or wear and address any issues accordingly.
Lubrication: Apply lubricant to potential contact points where parts of the bike may be rubbing against each other. This can help reduce friction and minimize creaking noises.
Professional Inspection: If you’ve checked all the above and the creaking persists, it may be best to have the bike inspected by a professional bike mechanic. They can diagnose the issue more thoroughly and recommend appropriate solutions.
By systematically checking and addressing these potential causes, you should be able to troubleshoot and resolve the creaking noise on your Peloton bike.
How Long Are Peloton Cranks?
Peloton bikes typically come with crank arms that are 170mm in length. This length is standard for many road and indoor cycling bikes, offering a balance between power transmission and comfortable pedaling motion for a wide range of riders. However, it’s worth noting that crank arm length can vary depending on the specific model or customization options. If you’re looking for precise information regarding the crank arm length on a particular Peloton bike model or variant, it’s best to refer to the manufacturer’s specifications or contact Peloton directly.
How to order a new crank arm for my peloton?
To order a new crank arm for your Peloton bike, you’ll want to follow these steps:
Identify the Correct Crank Arm: Determine the specific model and type of crank arm you need for your Peloton bike. You can find this information by checking your bike’s manual or by contacting Peloton customer support.
Visit the Peloton Website: Go to the official Peloton website (www.onepeloton.com).
Navigate to the Shop Section: Once on the Peloton website, navigate to the Shop section. You can usually find this in the main menu or by scrolling down on the homepage.
Search for Crank Arms: Use the search function or navigate through the categories to find the crank arms or replacement parts section.
Select the Correct Crank Arm: Choose the crank arm that matches the specifications of your Peloton bike. Make sure to double-check the compatibility to ensure it fits your bike model.
Add to Cart: Once you’ve found the correct crank arm, add it to your cart.
Review Your Order: Before proceeding to checkout, review your order to ensure that you’ve selected the correct item and quantity.
Proceed to Checkout: When you’re ready, proceed to the checkout page.
Enter Shipping Information: Enter your shipping address and any other required information.
Select Shipping Method: Choose the shipping method that best suits your needs. Consider factors like speed of delivery and cost.
Enter Payment Information: Enter your payment details to complete the purchase. Peloton typically accepts major credit cards and sometimes alternative payment methods like PayPal.
Review and Place Order: Review your order one last time to make sure all the details are correct, then place your order.
Confirmation: Once your order is placed, you should receive a confirmation email with details of your purchase and estimated delivery date.
If you encounter any difficulties or have questions during the ordering process, don’t hesitate to reach out to Peloton customer support for assistance.
Frequently Asked Questions
How Do You Remove The Crank Arm On A Peloton Bike?
To remove the crank arm on a Peloton bike, you’ll typically need a few tools and follow these steps:
Prepare the Bike: Make sure the bike is stable and secure. You might want to place it on a mat to protect the floor and ensure stability.
Remove the Pedal: Begin by removing the pedal from the crank arm. Use a pedal wrench or a hex key depending on the type of pedal your Peloton bike has. Turn the wrench counterclockwise to loosen and remove the pedal.
Locate the Crank Arm Bolt: Look for the bolt that attaches the crank arm to the bottom bracket spindle. It’s usually located at the center of the crank arm, facing towards the bike frame.
Loosen the Crank Arm Bolt: Use an appropriate tool, such as a crank puller or a crank extractor tool, to loosen the crank arm bolt. The tool may vary depending on the specific model of your Peloton bike. Follow the manufacturer’s instructions for the correct tool and procedure.
Remove the Crank Arm: Once the bolt is loosened, you can gently pull the crank arm away from the bike frame. It may require some force, but be careful not to damage any components.
Inspect and Clean: Take the opportunity to inspect the crank arm and the bottom bracket area for any dirt, debris, or wear. Clean as necessary before reassembly.
Reassemble if Necessary: If you’re removing the crank arm for maintenance or replacement, follow the reverse steps to reassemble the bike once the task is completed.
Remember, if you’re not confident in performing these steps yourself, it’s always a good idea to seek assistance from a professional bike mechanic or refer to the Peloton user manual for guidance specific to your model.
What Tools Are Needed For A Left Crank Arm Replacement Peloton?
For a Peloton left crank arm replacement, you’ll need an Allen wrench or hex key, typically sized 8mm. A crank puller tool may also be necessary for removal.
What Type Of Crank Arm Does My Peloton Have?
Peloton bikes feature two types of crank arm configurations: 3-piece and 2-piece designs. In a 3-piece crankset, the crank arms are connected by a separate spindle, while in a 2-piece crankset, the arms are integrated into one solid piece. This distinction affects the installation process, maintenance requirements, and overall durability of the crank assembly. Understanding the type of crank arm system your Peloton bike uses can help you better address maintenance needs and potential issues related to the crankset.
Can You Replace A Crank Arm On A Bike?
Yes, you can replace a crank arm on a bike. Crank arms can become damaged, bent, or worn over time, and replacing them can restore proper function to your bike’s drivetrain. Here’s a general outline of how you can replace a crank arm:
Identify the Type of Crank: There are different types of cranksets, such as square taper, splined, or one-piece cranks. Make sure you have the correct replacement crank arm for your specific crankset type.
Prepare the Bike: Secure the bike in a stable position, either on a repair stand or by leaning it against a sturdy surface.
Remove the Pedal: Use a pedal wrench or hex key to remove the pedal from the crank arm. Turn the wrench counterclockwise to loosen and remove the pedal.
Remove the Crank Bolt: Locate the bolt that attaches the crank arm to the bottom bracket spindle. Use the appropriate tool, such as a crank puller or crank extractor, to loosen and remove the crank bolt.
Detach the Crank Arm: Once the bolt is removed, you can slide the crank arm off the bottom bracket spindle. Some cranksets may require additional steps or tools for removal.
Install the New Crank Arm: Slide the new crank arm onto the bottom bracket spindle and make sure it fits snugly.
Tighten the Crank Bolt: Insert and tighten the crank bolt according to the manufacturer’s specifications. Be careful not to overtighten, as this could damage the crank arm or bottom bracket.
Reinstall the Pedal: Screw the pedal back onto the crank arm, making sure it is securely tightened. Use a pedal wrench or hex key to tighten the pedal.
Test and Adjust: Before riding, spin the crankset to ensure it rotates smoothly and there are no unusual noises or wobbles. Make any necessary adjustments to the pedal or crank arm if needed.
If you’re unsure about any steps or if you encounter any difficulties, it’s always a good idea to consult a professional bike mechanic for assistance.
How Do I Know If I Need New Crank Arm?
Determining whether you need to replace a crank arm on your bike involves assessing its condition and performance. Here are some signs that indicate you may need to replace a crank arm:
Visible Damage: Inspect the crank arm visually for any signs of damage such as cracks, dents, or bends. Damage to the crank arm compromises its structural integrity and may necessitate replacement.
Excessive Wear: Over time, crank arms can wear down due to constant use and friction. Check for signs of wear on the surface of the crank arm, particularly around the pedal spindle interface. Excessive wear can affect the crank arm’s performance and stability.
Looseness: If the crank arm becomes loose frequently, even after proper tightening, it may indicate that the crank arm or the bottom bracket spindle is worn out. This can compromise the connection between the crank arm and the bike’s drivetrain components, affecting pedaling efficiency and safety.
Creaking Noises: A creaking or clicking noise coming from the crank arm area while pedaling can indicate issues with the crank arm, bottom bracket, or pedal bearings. If the noise persists despite adjustments and lubrication, it may be a sign of wear or damage requiring replacement.
Difficulty Pedaling: If you experience difficulty pedaling, uneven power output, or a feeling of instability while riding, it could be due to a worn or damaged crank arm affecting the bike’s drivetrain efficiency.
Incompatibility or Upgrade: If you’re upgrading other drivetrain components or switching to a different crankset system, you may need to replace the crank arm to ensure compatibility and optimal performance.
Manufacturer’s Recommendations: Some manufacturers provide guidelines on the lifespan of bike components, including crank arms. If your crank arm has reached the end of its recommended service life or mileage, it may be time to consider replacement.
If you observe any of these signs or are experiencing issues with your bike’s performance, it’s advisable to consult with a professional bike mechanic for a thorough inspection and recommendation regarding crank arm replacement. They can assess the condition of the crank arm and other related components to determine the best course of action.
How Much Does It Cost To Replace A Bike Crank Arm?
The cost to replace a bike crank arm can vary widely, typically ranging from $20 to $50 for an entry-level component and up to $300 for a high-end model.
Conclusion
Wrapping up, replacing a Peloton crank arm is straightforward with the right tools and steps. Staying on top of this maintenance task ensures your rides remain smooth and safe. By following this guide, you can get back to your workouts with minimal downtime.
Happy cycling!
Related Post:
Peloton Treadmill vs NordicTrack 2950 ( Comparing Features, Performance, and Value )

