
To hang a yoga trapeze from the ceiling, install robust ceiling hooks or brackets safely into ceiling beams or joists. Ensure hardware is rated for your weight and the dynamic movement of yoga trapeze exercises.
Yoga trapezes offer a unique way to increase flexibility, strength, and inversion therapy, but setting one up requires attention to detail. Safety is paramount in the process, as the stability of your setup affects the effectiveness of your workouts and poses.
Before you begin, identifying a suitable location within your home or studio is critical. This spot must have enough space for free movement, and sturdy ceiling support is non-negotiable. Precision in following the manufacturer’s guidelines ensures that the trapeze can hold the intended weight without risk of injury. Prepare tools and materials beforehand to streamline the installation process, and consider contacting a professional if you’re unsure about the structural integrity of your chosen area.
Introduction To Yoga Trapeze
Embrace the wonders of aerial yoga with a Yoga Trapeze in the comfort of your home. This intriguing form of yoga brings together traditional asanas and aerial acrobatics, offering a unique twist to your fitness routine. Let’s embark on the journey to discover the origins, benefits, and crucial safety considerations necessary to hang a Yoga Trapeze from your ceiling.
Origins And Benefits
The Yoga Trapeze finds its roots in the ancient practice of yoga. By introducing an aerial element, it elevates the experience, quite literally! Users enjoy a range of benefits, such as:
- Improved flexibility
- Enhanced core strength
- Decompression of the spine
- Boosted circulation
Connecting with these age-old techniques unlocks a path to physical and mental well-being.
Safety Considerations Before Installation
Safety comes first when installing your Yoga Trapeze. Here are key points to note:
- Study the structure of your ceiling to find strong beams.
- Use high-quality mounting equipment like daisy chains and carabiners.
- Consult a professional installer if in doubt.
Checking these off your list ensures a safe and peaceful aerial practice.

Credit: www.yogaswings.com
Essential Tools And Materials
Setting up your yoga trapeze at home paves the way for a fun and transformative practice. But before you can soar into your exercises, the correct tools and materials are must-haves. This guide details what you need to safely and effectively hang your trapeze from the ceiling.
Selecting The Right Trapeze Model
Knowing the right yoga trapeze to choose is vital. Check these features:
- Weight capacity: Ensure it supports your weight.
- Material: Look for durable, high-quality fabric.
- Size: It must fit your space and body size properly.
- Adjustability: Straps should adjust for comfort and versatility.
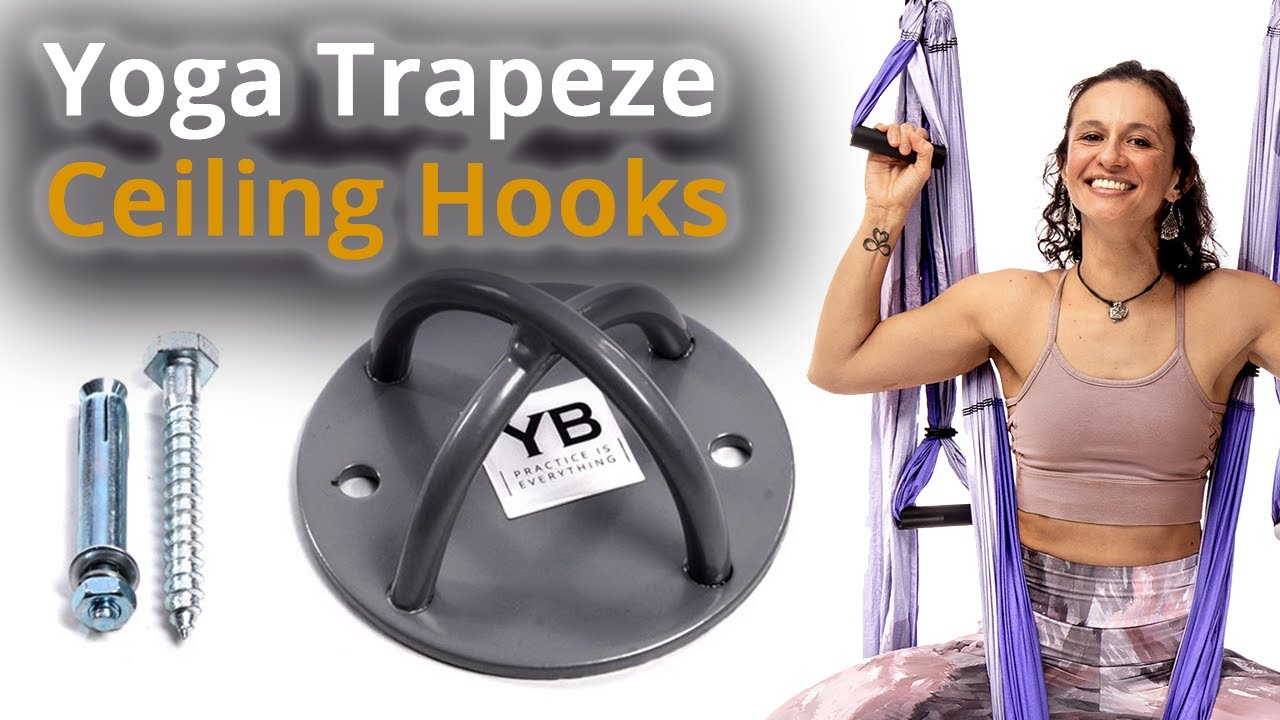
Gathering Necessary Hardware
You will need specific hardware to mount your trapeze:
| Hardware | Description | Quantity |
|---|---|---|
| Drill | For making holes in the ceiling. | 1 |
| Stud Finder | To locate ceiling beams. | 1 |
| Mounting Brackets | To attach the trapeze to the ceiling. | 2 |
| Screws | Made of stainless steel for strength. | 8 |
| Wrench | To tighten screws and bolts. | 1 |
| Safety Lock Carabiners | To clip the trapeze to the mounts. | 2 |
Make sure the brackets and screws are high-grade. They must hold more than your weight. Each material should meet your trapeze manufacturer’s recommendations.
Finding The Perfect Spot
Before you can enjoy the benefits of a yoga trapeze, you need to find the right place to hang it. This journey starts with choosing a spot in your home that is not only comfortable and spacious but also safe and secure. The right environment will ensure you can practice with peace of mind.
Assessing Ceiling Strength
Not all ceilings are the same. It’s crucial to examine the structure of your ceiling to determine if it can hold a yoga trapeze. Check for solid beams or joists. Wood beams are ideal, but metal structures can also work if they are part of the building’s framework.
Avoid drywall and plaster when locating a spot, as these materials do not offer the necessary support. Use a stud finder to locate the beams in your ceiling. Once found, the installation process can begin.
Space Requirements For Swinging And Inversion
Ample space is key for your yoga trapeze experience. There should be enough room to swing and invert without obstacles. Follow these space guidelines:
- Horizontal space: Aim for at least a 6-foot clearance from any wall.
- Vertical space: Ensure you have a minimum of 3 feet of open height below the trapeze when it’s hung.
- Consider the area around the trapeze.
Measure twice, hang once. This ensures your yoga trapeze is in a spot where you can smoothly transition into poses and flows.
Mounting The Yoga Trapeze
Mounting the Yoga Trapeze provides a unique way to enhance your yoga practice. Before you begin, ensure you have a sturdy ceiling, the right tools, and the yoga trapeze. It’s essential for your safety and the trapeze’s longevity. Let’s dive into the installation steps.
Step By Step Installation Process
Follow these steps for a safe and secure yoga trapeze setup:
- Choose the Right Spot: Pick a space with enough room for movement.
- Find a Ceiling Joist: Use a stud finder to locate a solid beam.
- Mark the Spots: Mark where you will place the hooks, evenly spaced.
- Gather Your Tools: Have a drill, drill bits, and wrench ready.
- Prepare the Mounts: Ensure mounts and bolts are on-hand.
- Double-Check Everything: Confirm the spacing and tools before drilling.
Securing The Mounts: Drilling And Bolting
Attaching the mounts securely is crucial. Use these guidelines:
- Drill Pilot Holes: Carefully drill holes where you made marks.
- Install Mounts: Align mounts over holes and start bolting.
- Tighten Bolts: Use the wrench to secure bolts firmly.
- Test the Setup: Gently pull to ensure everything is stable.
Note: If you’re not confident in your ability to securely mount the trapeze, consult a professional. Safety is paramount.
Post-installation Checks
Completing the yoga trapeze setup is crucial for safety and performance. The post-installation checks help ensure everything is secure and ready for use. A close inspection eliminates risks and prepares the trapeze for an optimal yoga experience.
Testing The Stability
The safety of your yoga trapeze hangs on stability. Begin with a visual inspection of all mounting points. Make sure bolts are tight and there is no visible damage to the ceiling or support beam. Gentle tugs on the trapeze can simulate the weight and movement expected during exercises.
- Inspect ceiling anchors for any movement.
- Check carabiners and straps for secure connections.
- Apply a light weight to test before full usage.
Listen for unusual sounds that could indicate movement or stress. Confirm that the trapeze remains stationary with minor force applied. It’s important to repeat this test regularly before each session.
Adjusting The Trapeze For Optimal Use
Adjusting the trapeze ensures a comfortable and effective yoga session. Start by setting the trapeze’s height. It should be high enough for your exercises yet low enough for safety. Arm-length distance from the floor is common for beginners.
Next, personalize the handle and seat settings to fit your body. The trapeze should allow a full range of motion without strain. Straps should freely adjust without slipping.
| Adjustment Area | Action | Check |
|---|---|---|
| Height | Align with arm length | Motion range allows for exercise |
| Handles | Fit to reach | Handles within comfortable reach |
| Seat | Stabilize for support | Seat provides firm support |
Be sure to check each adjustment independently. Use your own sensations and comfort to guide fine-tuning. Consistent checks and adjustments safeguard against equipment failure and personal injury.
Maintaining Your Yoga Trapeze
Maintaining Your Yoga Trapeze ensures its longevity and your safety. Like any exercise equipment, the yoga trapeze requires ongoing care. Follow these simple yet crucial steps to keep it in the best condition.
Regular Inspection Routines
Checking your yoga trapeze routinely is key to preventing accidents. Look for any signs of wear or damage:
- Check the straps for fraying or tears.
- Inspect carabiners and hooks for deformation or corrosion.
- Examine the ceiling mounts to ensure they are secure.
Perform these inspections once a month or more frequently with heavy use.
Cleaning And Storage Tips
Keeping your trapeze clean enhances its life and reduces health risks. Follow these tips:
- Wipe down the trapeze after every use with a gentle, non-abrasive cleaner.
- Machine wash the fabric parts occasionally, following manufacturer instructions.
- Avoid harsh chemicals that may degrade the materials.
Store your trapeze in a dry, cool place when not in use. This prevents moisture buildup and fabric decay.
Common Faqs Addressed
Exploring the best methods to hang a Yoga Trapeze leads to a lot of questions. We aim to address the most common concerns right here. With this guide, setting up a safe and secure practice space is within reach.
What To Do In Concrete Or Drywall Ceilings
Concrete and drywall require different approaches:
- Concrete Ceilings: You’ll need a hammer drill and concrete anchors. Mark the drill points carefully. Secure the mounts with anchors and ensure they’re tightly fastened.
- Drywall Ceilings: Locate the joist using a stud finder. The mount must be fixed into the joist, not just the drywall, to safely support weight. Use lag screws for secure fastening.
If you’re unsure about the process, consult a professional. Safety is paramount when hanging anything from the ceiling, especially exercise equipment.
Alternatives If Ceiling Mount Isn’t Possible
Not all ceilings can support a Yoga Trapeze. Here are some alternatives:
- Yoga Trapeze Stands: These are freestanding frames. They offer flexibility to practice anywhere.
- Door Frame Bar: Some trapezes can be fixed to a sturdy door frame bar. Ensure the doorway is strong enough.
- Tree Branches: A robust tree branch can be a natural alternative. Always test for strength and stability first.
Remember, with any alternative, checking the support’s strength is key. A safe practice prevents injuries and ensures peace of mind.
Credit: www.youtube.com

Credit: www.wikihow.com
Frequently Asked Questions Of How To Hang A Yoga Trapeze From Ceiling
Is Installing A Yoga Trapeze At Home Difficult?
Not at all. Installing a yoga trapeze can be straightforward with the right tools and instructions. It typically involves securing a mount or hooks to your ceiling joists and hanging the trapeze. Always follow manufacturer guidelines for safety.
What Ceiling Types Are Suitable For A Yoga Trapeze?
Most solid ceilings, like those made of concrete or wood with joists, are suitable for a yoga trapeze. It’s essential to ensure the ceiling is sturdy and can bear the trapeze’s weight, including the user.
Can I Hang A Yoga Trapeze Without Drilling?
Yes, you can use alternative methods such as tension poles or a freestanding frame. Although convenient, these may not offer the same stability as a drilled mount, so ensure they are secure before use.
How Much Space Do I Need For A Yoga Trapeze?
A clear space of approximately 6 feet by 6 feet and a minimum ceiling height of 8 feet is recommended. Ensure there’s ample room around the trapeze to perform exercises without obstruction.
Conclusion
Hanging a yoga trapeze at home can revolutionize your practice, allowing for greater flexibility and strength training. By following the correct procedures, you ensure a safe and secure setup. Get ready to swing into a healthier lifestyle with your new aerial companion! Always prioritize safety and enjoy your aerial yoga journey.


