
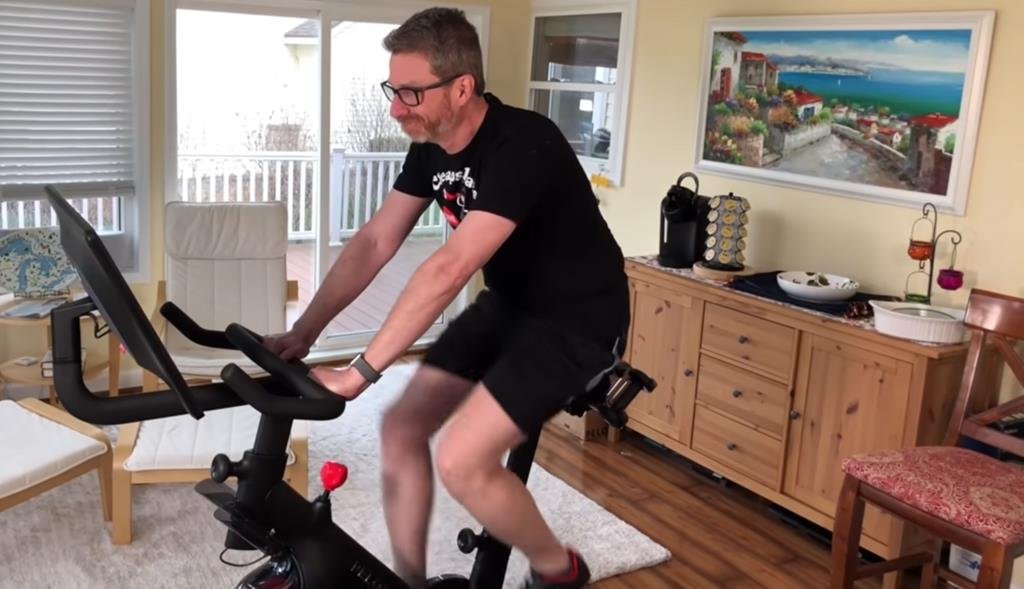
To remove your Peloton handlebars, first, loosen the lever under the sweat guard, then slide the handlebars out. Ensure the bike is stable before beginning this process.
Maintaining your Peloton bike, including the removal of handlebars, is key to ensuring a safe and enjoyable fitness journey. Peloton enthusiasts often need to adjust or remove handlebars for transport, maintenance, or to customize their setup. Tackling this task requires minimal tools and a straightforward approach.
This step-by-step guide ensures that you can confidently disassemble your bike’s handlebars safely and efficiently. Remember, a regular check on the components not only enhances your workout experience but also prolongs the life of your equipment. Keep your bike in top-notch condition and never let a loose handlebar disrupt your high-energy Peloton sessions.
Prelude To Peloton Handlebar Removal
Embarking on the journey of DIY maintenance brings you to the challenge of handling your Peloton’s components. Removing the handlebars is a task you might undertake for upgrades or to fine-tune your ride’s fitting. Mastering this skill ensures personalization and comfort during workouts.
Safety First: Preparing Your Workspace
Ensure safety for you and your bike during the removal process. Creating a secure space is key.
- Clear the area of any clutter
- Have ample lighting
- Place the bike on a flat, stable surface
- Keep a soft cloth or mat underneath to protect from scratches
Tools You’ll Need For The Job
You’ll require specific tools to remove Peloton handlebars successfully. Gather these before you start:
| Tool Type | Description |
|---|---|
| Allen Wrench | For bolts on the handlebars |
| Small Container | To keep small parts safe |
| Adjustable Wrench | For additional grip if needed |
| Clean Cloth | To clean and handle parts |
Identifying Your Peloton Model
Step-by-step Removal Process
Welcome to the step-by-step guide for removing your Peloton handlebars. Whether you’re looking to transport your bike or make adjustments for comfort, understanding how to safely and efficiently remove the handlebars is essential. In this guide, we’ll provide clear instructions to help you accomplish this task with ease.
Loosening The Bolts: The Starting Point
Begin by gathering the necessary tools. You will need an Allen wrench or hex key that fits the bolts on your Peloton. Most models use a 5mm size, but check your manual to be sure. Ready? Let’s get started:
- Turn off your Peloton and unplug it from the power source.
- Locate the bolts that connect the handlebars to the bike frame.
- Using the Allen wrench, turn the bolts counterclockwise to loosen them. Do not remove them completely yet.
Detaching The Handlebars: Techniques And Tips
With the bolts loosened, the handlebars will now be ready for removal. Follow these tips to ensure a smooth process:
- Hold the handlebars firmly with one hand to prevent them from falling.
- Continue to unscrew the bolts until they’re free from the frame.
- With all bolts removed, gently slide the handlebars off the mount.
- Keep all bolts in a safe place – you’ll need them to reattach the handlebars later.
There you have it! Your Peloton’s handlebars are now detached. This process can be reversed to reinstall the handlebars when needed, ensuring they are secure and properly aligned before your next ride.
Handlebar Maintenance Tips
To keep your Peloton in top condition, handlebar maintenance is crucial. Regular cleaning and inspection will extend their life and ensure a comfortable, safe workout. Discover the best practices in handlebar care below.
Cleaning Your Handlebars Properly
A clean handlebar offers a secure grip and prevents buildup of sweat and grime. Follow these steps:
- Turn off your Peloton and unplug it to avoid any electrical issues.
- Use a soft, damp cloth to wipe down the handlebars. Avoid harsh chemicals.
- For stubborn stains, apply a mild soap solution to the cloth, not directly on the bars.
- After cleaning, dry the handlebars thoroughly with a towel to prevent rust.
Inspecting For Wear And Tear
Regular inspection helps catch issues early, maintaining rider safety. Be observant for:
| Part to Inspect | What to Look For |
|---|---|
| Handlebar Surface | Cracks, scratches, or peeling. |
| Adjustment Levers | Problems tightening or loosening. |
| Mounting Points | Looseness or unusual movement. |
Tighten any loose bolts and replace damaged parts promptly. Contact Peloton Support for parts and guidance.
Reattaching The Handlebars
Finished with maintenance or an upgrade, it’s time to put your Peloton handlebars back. Follow these steps to ensure a safe and comfortable ride. The process is straightforward and requires only a few minutes. Let’s begin,
Aligning And Positioning For Comfort
Getting the right fit on your Peloton is essential for a great workout. Begin by holding the handlebars close to their mounting area. Align them with the stem so that they are even and centered. This alignment affects your posture and the effectiveness of your exercise. Consider these points for optimal positioning:
- Height: Adjust to allow a slight bend in your elbows when gripping.
- Distance: You should comfortably reach the handlebars without straining.
- Angle: Set the angle to minimize wrist strain, matching your natural hand position.
Securing Bolts: Ensuring Safety
With the handlebars positioned for your comfort, secure them firmly. Use the appropriate hex key to tighten the bolts. Check each bolt in the following manner:
| Step | Instructions |
|---|---|
| 1 | Start with the bolts closest to the rider |
| 2 | Tighten each bolt in a cross pattern |
| 3 | Apply firm pressure but do not over-tighten |
| 4 | Double-check all bolts for consistency |
Note: Bolts should be snug against the frame to prevent movement. This ensures your safety during intense workouts. After securing, give the handlebars a gentle shake to confirm they’re attached firmly.
Credit: www.rokform.com
Troubleshooting Common Issues
Troubleshooting Common Issues with your Peloton handlebars can be frustrating. Knowing how to address these issues saves time and gets you back to your workouts faster. Issues might include handlebars that won’t budge or bolts that have stripped threads. This guide covers quick fixes for these common complaints.
When Handlebars Won’t Come Off
Encountered stubborn handlebars that refuse to detach? Typical solutions might not work. These steps simplify the process:
- Ensure all necessary tools are on hand.
- Review the user manual for specific instructions.
- Unscrew all relevant bolts completely.
- Gently wiggle the handlebars side to side while pulling upward.
Note: Do not force the handlebars off. This can damage the bike’s frame or the handlebars themselves.
Solutions For Stripped Bolts And Threads
Stripped bolts and threads create a tough problem. Here’s a step-by-step approach to tackle it:
- Inspect: Look closely at the bolt and threading area.
- Lubrication: Apply a penetrating oil to loosen the bolt.
- Tool Upgrade: Use a bolt extractor tool if necessary.
- Professional Help: Consult a professional if these steps fail.
Remember, patience is key. Rushing may cause more damage. In severe cases, replacement parts might be necessary.
Frequently Asked Questions For How To Remove Your Peloton Handlebars
How Do You Move Peloton Handlebars?
To move your Peloton handlebars, unlock the lever beneath them, adjust the bars to your desired height, and then secure the lever back in place. Ensure they’re tightly clamped down before starting your workout.
How Do You Remove Bike Handlebars?
To remove bike handlebars, loosen the stem clamp bolts with an Allen key. Pull the handlebars gently away from the stem. Re-align or replace as needed before re-tightening the bolts securely.
Can You Take Apart A Peloton Bike?
Yes, you can disassemble a Peloton bike. It’s recommended to follow the official Peloton guide or consult customer service during the process to avoid damage.
How Do You Clean Peloton Handlebars?
To clean Peloton handlebars, use a soft cloth dampened with water or a gentle cleanser. Wipe them down thoroughly, avoiding harsh chemicals. Ensure the handlebars are dry before your next use.
Conclusion
Removing your Peloton handlebars can be a smooth process with the right tools and instructions. As you follow this guide, you’ll ensure a safe and effective removal. Remember to keep your workspace organized and maintain the condition of your bike’s components.
Get ready to enjoy a personalized Peloton experience!
