
To disassemble a Sole F85 treadmill, first unplug the machine and remove the safety key. Then, detach the console and base frame following the user manual’s instructions.

Exclusive Deals
Limited-time Exclusive Deals. Check current discount on Amazon.
Check Price on Amazon As an Amazon Associate I earn from qualifying purchases.Disassembling a treadmill can be a daunting task, but it’s essential when you’re moving or servicing your Sole F85. This robust piece of equipment is designed for easy assembly and, with the right guidance, equally straightforward disassembly. A careful approach not only ensures the safety of both you and the treadmill but also safeguards against damaging any of the sophisticated components housed within the machine.
Remember to keep track of all screws and parts and consult the model’s specific manual to prevent any guesswork. With some basic tools and a systematic method, you’ll have your Sole F85 treadmill ready for transport or maintenance in no time.

Credit: treadmillvibe.com
Exclusive Deals
Limited-time Exclusive Deals. Check current discount on Amazon.
Check Price on Amazon As an Amazon Associate I earn from qualifying purchases.Safety First: Preparing For Disassembly
Breaking down your Sole F85 treadmill needs care and precision. Safety takes top priority. Before starting, ensure your workspace is clear. Be patient and follow steps closely. This guide prevents mishaps, protecting you and your equipment.
Powering Down and UnpluggingPowering Down And Unplugging
Turn off your treadmill before anything else. This must be your first step. Find the ‘Stop’ button on your console. Press it. Then, locate your machine’s power switch. It’s often at the front, near the power cord. Flip the switch to the off position. Wait for all lights to go out. Only then, gently remove the power cord from the wall socket. This step is crucial for a safe disassembly process.
Gathering the Right ToolsGathering The Right Tools
To dismantle your Sole F85, you need the right tools. Not having them can stall progress. Check for the tools listed in your manual. If you can’t find the manual, the most common tools required are:
Exclusive Deals
Limited-time Exclusive Deals. Check current discount on Amazon.
Check Price on Amazon As an Amazon Associate I earn from qualifying purchases.- Phillips-head screwdrivers: for screws.
- Adjustable wrench: for nuts and bolts.
- Allen wrenches: for hex bolts.
- Rubber mallet: to avoid damage.
Organize these tools so they’re easy to grab. Now, you’re set to start the disassembly.
Initial Steps: Breaking Down The Basics
Embarking on the journey of disassembling your Sole F85 treadmill begins with essential groundwork. Properly breaking down your treadmill ensures a safe and efficient process. From folding the device to removing its accessories, careful attention to each detail is key. Follow these steps to ensure a smooth disassembly.
Folding The Treadmill
Start by reducing the treadmill’s size for easier handling. Follow these points:
- Switch off the treadmill and unplug it from the electrical outlet.
- Carefully lift the end of the treadmill deck.
- Secure the deck in its upright position.
- Ensure the locking mechanism is fully engaged.
Removing Safety And Accessory Items
To protect the treadmill’s components and your safety, remove all detachable items before proceeding:
- Detach the safety clip and store it in a secure place.
- Hold onto accessories like water bottles or mobile devices.
- Remove any add-ons that could come loose during the disassembly.
With these initial steps, you lay the groundwork for a flawless disassembly of your Sole F85 treadmill.
Console Disconnection: Protecting Your Tech
Dismantling your Sole F85 Treadmill starts with disconnecting the console. This step is crucial to prevent damage to the sophisticated electronics that bring life to your workouts. Follow these simple yet essential steps to ensure your treadmill’s brain remains safe and sound.
Detaching Console Cables
Before starting, make sure your treadmill is unplugged. It’s a safety step for you and your device. Then, locate the back of the console to find the cables connected to it.
- Press the clips to release cable connections.
- Gently pull out each cable from its slot.
- Keep cables organized to ease reassembly.
Removing The Console Stand
- Remove screws securing the console to the stand.
- Lift the console carefully upward off the stand.
- Place the console on a cushioned surface.
Framework Dismantling: Handlebars And Base
Embarking on the disassembly of your Sole F85 Treadmill may seem daunting. Yet, understanding the process can make it straightforward and safe. The unit’s framework, including handlebars and the base, is where the journey begins. Proper dismantlement is crucial for maintaining the integrity of your machine. Let’s dive into the meticulous steps to disassemble this vital section of your treadmill.
Detaching The Uprights
Before starting, ensure your treadmill is unplugged. This keeps you safe from any electrical issues. The uprights are the vertical posts that hold the console and handlebars. To remove them:
- Locate the screws or bolts connecting the uprights to the base.
- Use a screwdriver or wrench to loosen and remove these fixtures.
- Carefully lift the uprights away from the base, taking care not to jostle any wiring.
Separating The Frame And Deck
The frame supports the treadmill’s walking area, while the deck is the platform you run on. For separation:
- Identify bolts securing the deck to the frame.
- With an appropriate tool, unscrew these bolts.
- Gently slide the deck away from the frame.
- Store all small parts in a bag to avoid loss.
Remember to label any cables disconnected during this process. It will ease reassembly later. Keep your workspace organized to maintain a clear overview of the dismantling.
Belt And Deck Disassembly: A Detailed Approach
Taking a treadmill apart can be daunting. The Sole F85 is no exception. The belt and deck are crucial components. Proper disassembly is essential for maintenance or moving the machine.
Loosening the BeltLoosening The Belt
First, make sure the treadmill is turned off and unplugged. Find the Allen wrench that came with your treadmill. Look at the rear end of the treadmill. You will see two bolts on either side. These bolts adjust belt tension.
Turn the bolts counterclockwise. Do this a quarter turn each to maintain evenness. Repeat until the belt is loose enough. You can lift it 2-3 inches off the deck at the midpoint.
Removing the Deck and RollersRemoving The Deck And Rollers
Remove the belt first. Start by lifting the belt’s edge. Slide it off the front roller. Then, the rear roller.
The deck is next. It usually has screws along the sides. Use a screwdriver to remove these screws.
- Place the screws in a small container.
- Keep them safe; you will need them for reassembly.
Now, lift the deck carefully. Watch out for the rollers underneath. The deck might be heavy.
With the deck off, rollers come out easily. Take note of their orientation. This is important for when you put them back.
| Component | Action Required |
|---|---|
| Front Roller | Lift the belt and slide off |
| Rear Roller | Loosen the belt, then slide off |
| Deck | Remove screws, then lift off |
Remember to document the process. This will help during reassembly. A video or photos work well.
Credit: www.soletreadmills.com
Final Steps: Organizing Components And Clean-up
Once you have successfully disassembled your Sole F85 treadmill, it’s crucial to keep everything organized. This avoids losing any parts and ensures a smooth reassembly. It’s time for sorting, storing, and creating a safe workspace.
Sorting And Storing Parts
Organizing your treadmill components is a breeze with a simple system. Let’s break it down:
- Label bags or containers for screws, bolts, and small parts.
- Use clear, sealable bags to keep similar items together.
- Categorize larger parts by their function and location on the treadmill.
- Take photos or notes to remember where each piece fits during reassembly.
By keeping parts sorted, you eliminate confusion and fast-track the reassembly process.
Ensuring A Safe Workspace
Cleaning up and securing your workspace protects you and your treadmill:
- Remove debris to prevent slipping or tripping.
- Wipe down exposed surfaces to prevent dust buildup.
- Ensure all tools are accounted for and stored away.
- Keep disassembled parts in a designated area, away from foot traffic.
Maintaining a tidy workspace leads to a safer environment.
With components neatly sorted and a clean workspace, the path to reassembling your Sole F85 treadmill becomes clear and hazard-free. Securing these elements guarantees peace of mind and a swift transition to your next workout session.

Credit: m.youtube.com
Frequently Asked Questions For Disassemble Sole F85 Treadmill
Can I Take My Treadmill Apart To Move It?
Yes, most treadmills can be disassembled for moving. Consult your owner’s manual for specific disassembly instructions to ensure safe and proper handling during the process.
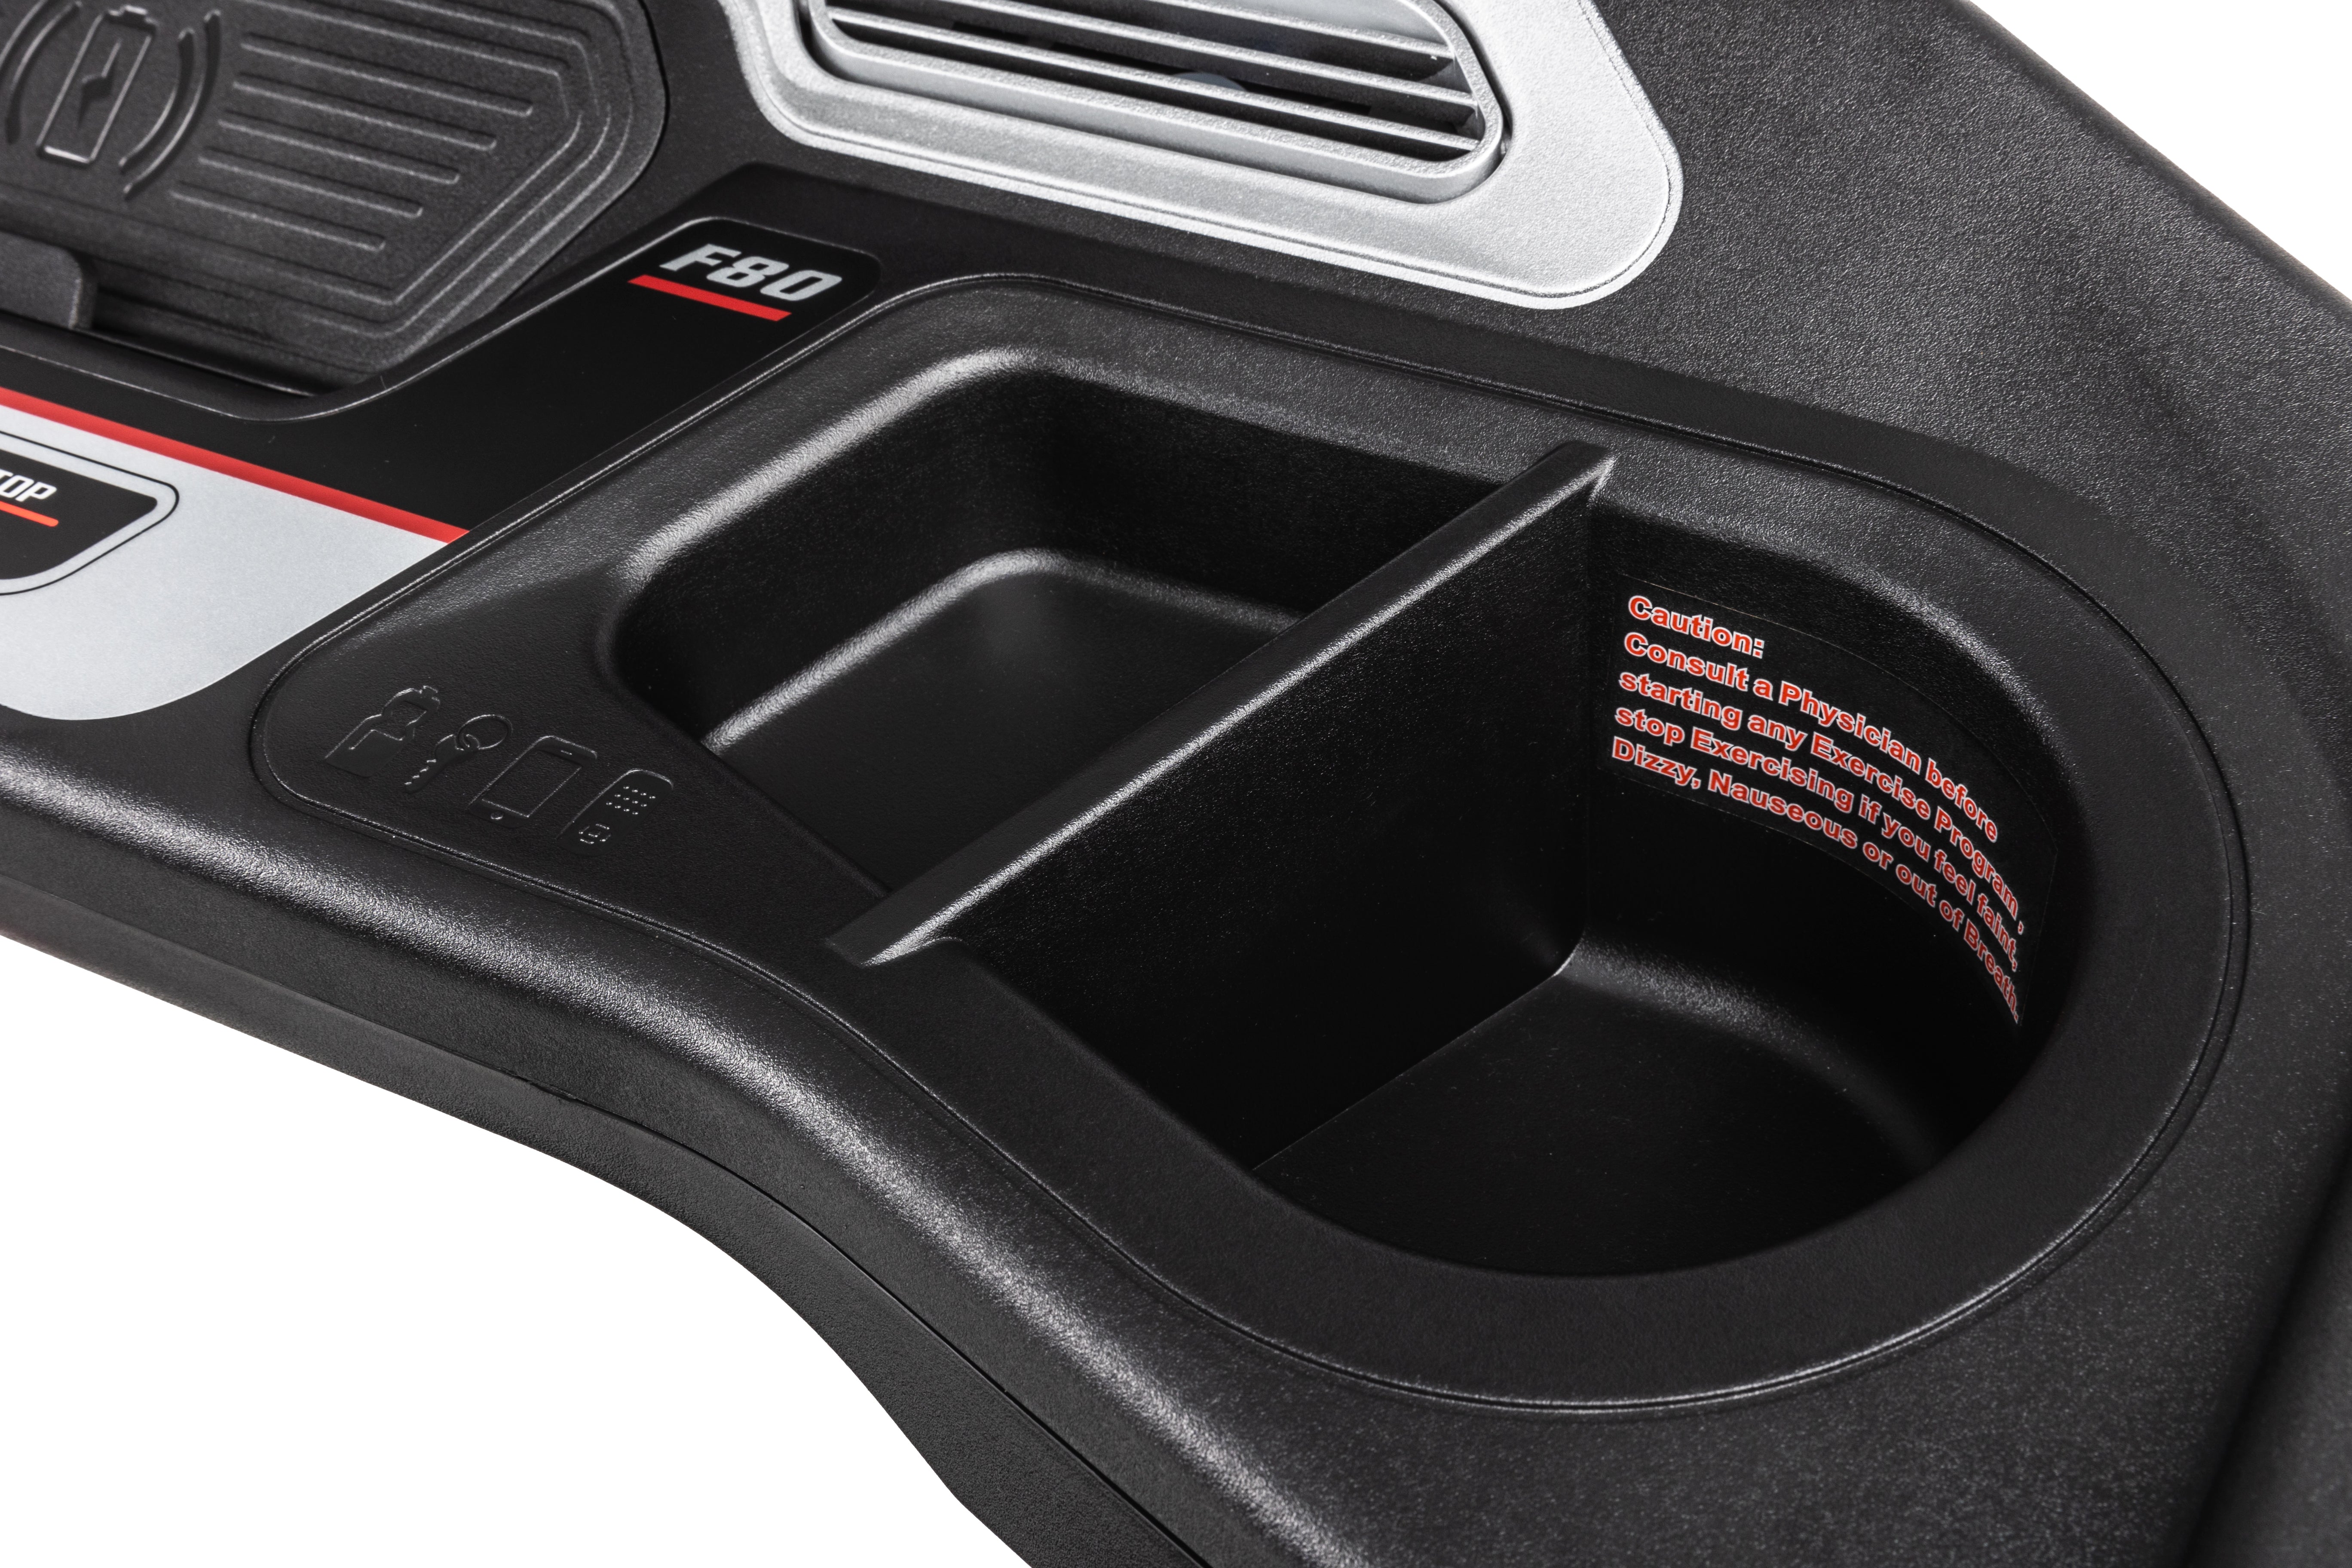
How Do You Move A Sole F80 Treadmill?
To move a Sole F80 treadmill, first turn off and unplug the machine. Secure the treadmill deck in the upright position. Tilt the treadmill back gently, and roll it using the transport wheels. Avoid dragging to prevent damage. Always move with care to ensure safety.
How Do You Get A Treadmill Through A Door?
To get a treadmill through a door, disassemble it following the manual’s instructions. Tilt and carefully angle the parts through the doorway. Ensure the door is fully open and clear any obstacles beforehand. If possible, measure the treadmill and door to plan the move.
Reassemble after moving.
How Do You Move A Treadmill By Yourself?
To move a treadmill alone, ensure it’s unplugged and lock the deck if it’s foldable. Carefully tilt the treadmill onto its wheels, firmly hold the handrails or frame, and gently push or pull it to the desired location. Avoid straining yourself by pushing too hard.
Conclusion
Taking apart your Sole F85 treadmill may seem daunting, but it’s manageable with the right steps. Remember to stay organized, keep your manual handy, and take your time with each component. By disassembling it properly, you’ll ensure its longevity and maintain its top-notch performance.
Always prioritize safety for a seamless reassembly when you’re ready.

