
If you’ve ever watched someone effortlessly glide, flip, or hang upside down in a yoga swing and thought, “That looks amazing—but I could never do that,” think again! Yoga swing tricks might look like something straight out of a circus, but with a little guidance, patience, and practice, they’re totally accessible—and incredibly fun.

Exclusive Deals
Limited-time Exclusive Deals. Check current discount on Amazon.
Check Price on Amazon As an Amazon Associate I earn from qualifying purchases.Whether you’re a total beginner curious about aerial yoga or someone who’s been playing with a swing for a while and wants to level up, this guide will walk you through how to do yoga swing tricks safely and confidently.
Let’s learn how to fly—no wings required.
First Things First: What Are Yoga Swing Tricks?
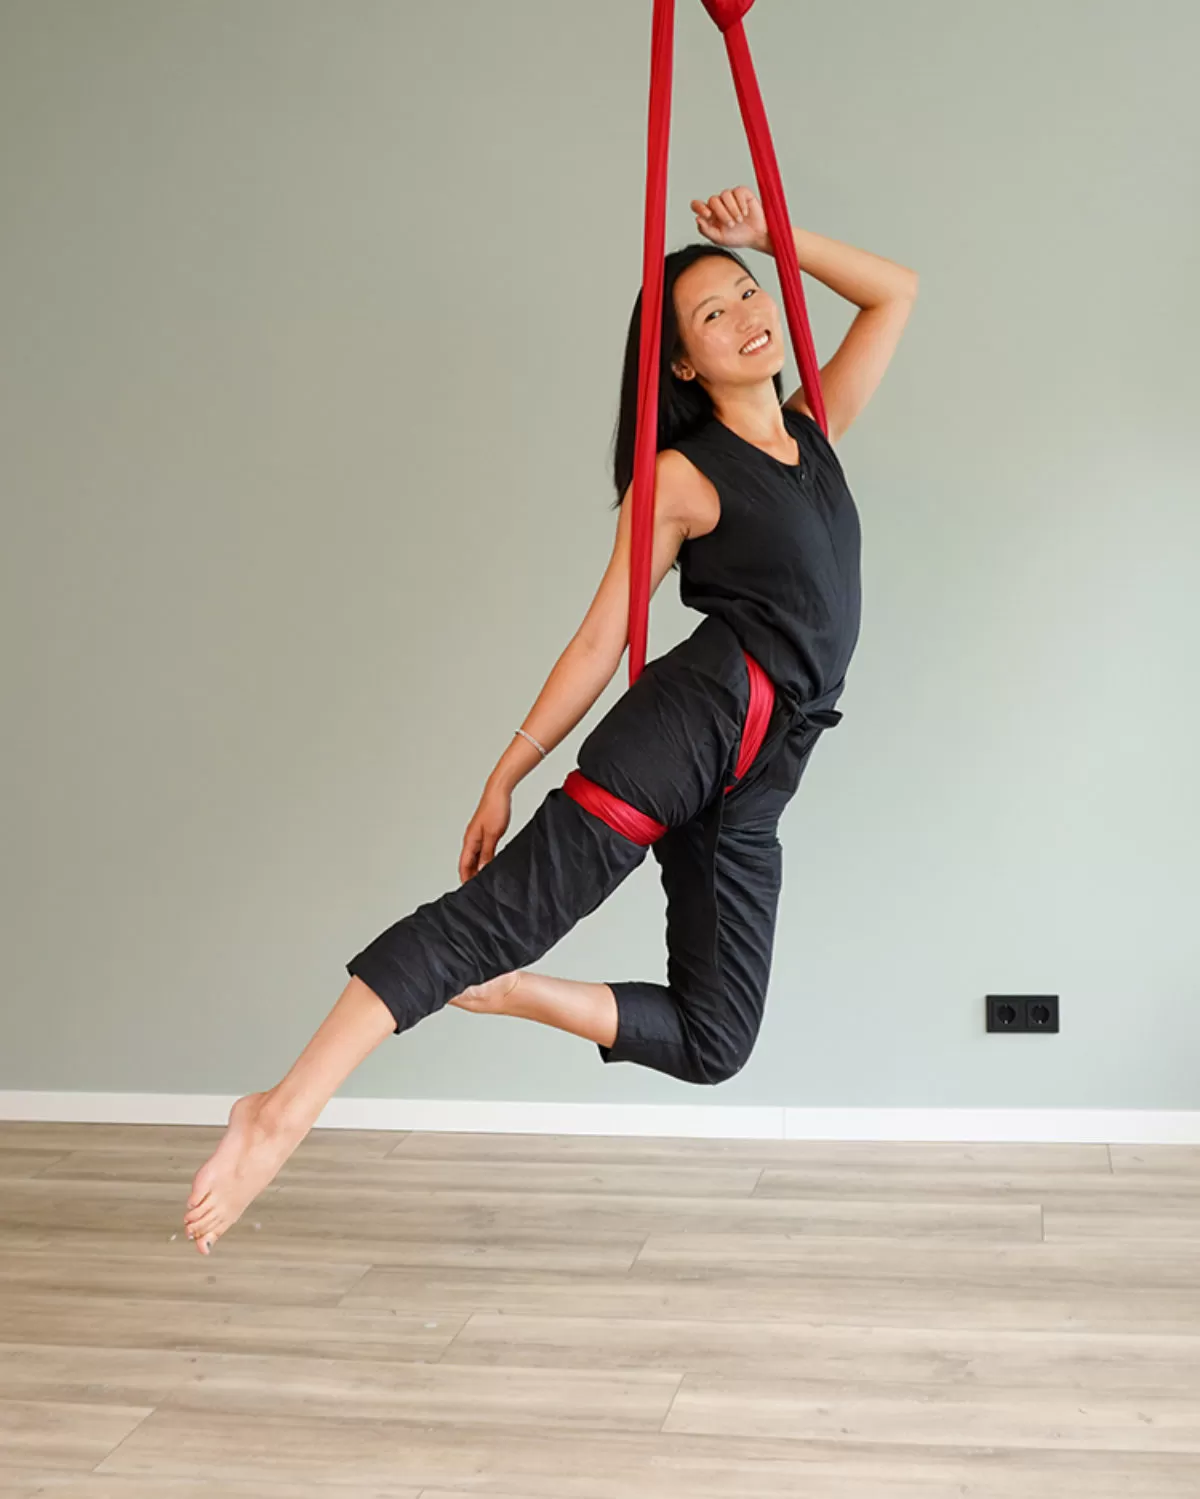
Yoga swing tricks are playful, acrobatic, and sometimes gravity-defying movements performed using a yoga swing (also called a yoga trapeze or aerial hammock). These tricks go beyond basic stretching or poses—they involve inversions, flips, transitions, balances, and floating sequences that challenge your body and mind in the best way possible.
Exclusive Deals
Limited-time Exclusive Deals. Check current discount on Amazon.
Check Price on Amazon As an Amazon Associate I earn from qualifying purchases.Think of it as yoga meets aerial arts—with a dash of fun and flair.
Why Try Yoga Swing Tricks?
You’re not just flipping for show. Here are some real benefits to learning aerial yoga swing tricks:
Builds serious core strength and body control
 Deal
DealExclusive Deals
Limited-time Exclusive Deals. Check current discount on Amazon.
Check Price on Amazon As an Amazon Associate I earn from qualifying purchases.Improves flexibility, especially in the spine, hips, and shoulders
Relieves spinal compression and decompresses the back
Boosts confidence (there’s something empowering about hanging upside down!)
Adds joy and creativity to your fitness routine
Reduces stress and anxiety through playful movement
If you ever find yourself getting bored with your usual yoga or workout routine, yoga swing tricks are a guaranteed way to reignite your excitement.
Before You Begin: What You’ll Need
Before launching into the air, make sure you’re set up properly:
✅ A sturdy yoga swing or hammock made from durable nylon or silk
✅ Secure ceiling mounts, pull-up bar, or a freestanding rig
✅ A crash mat or padded surface underneath, especially while learning tricks
✅ Comfortable, non-slippery clothing that covers the legs and armpits
✅ Optional: Chalk or yoga gloves for extra grip
How to Do Yoga Swing Tricks: Step-by-Step Examples
Here are some beginner-to-intermediate yoga swing tricks that are safe, fun, and offer a great foundation:
🌟 1. Inverted Butterfly Pose (Great for Beginners)
This is often the first inversion people learn—and for good reason.
How to do it:
Sit in the swing with the fabric under your hips.
Lean back slowly and guide your legs through the fabric.
Let yourself hang upside down in an inverted position.
Press your feet together and open your knees like a butterfly’s wings.
Rest your hands on the floor or extend them outward.
Why it’s cool:
It decompresses your spine and hips while giving you a gentle intro to aerial inversions.
💪 2. Floating Bow Pose (Backbend in the Air)
This pose is a beautiful heart opener and core strengthener.
How to do it:
Drape yourself belly-down over the swing.
Reach back and grab your ankles or feet.
Kick your feet into your hands and lift your chest for a floating Bow pose.
Use the swing to support your hips and balance midair.
Why it’s cool:
You get the deep stretch of Bow Pose without the strain—plus, it looks awesome!
🔄 3. Monkey Flip (Intermediate Flip Trick)
This is your first aerial flip—and it’s super fun once you get the hang of it.
How to do it:
Start in an inverted straddle.
Wrap your legs around the fabric and grip the swing.
Use your core and momentum to swing and flip through.
Land smoothly back in an inverted pose.
Why it’s cool:
It looks advanced, but with practice and a spotter, it’s totally doable.
🧍 4. Superman Plank (Bodyweight Training Trick)
This trick builds body control and core strength like nothing else.
How to do it:
Lie face-down with your hips balanced on the swing.
Place your hands on the ground like a plank.
Extend your legs back so your body is parallel to the floor.
Engage your core and hold still—Superman style!
Why it’s cool:
You’ll feel powerful, stable, and strong—and your abs will thank you.
🌌 5. Star Pose Transition (Advanced Flow Trick)
A full-body expression that blends beauty and strength.
How to do it:
Start inside the swing in a seated or cocoon position.
Gently extend arms and legs outward like a floating star.
With control, flip backward into an inverted star position.
Stay open and steady, then exit mindfully.
Why it’s cool:
This trick looks absolutely magical—and feels it too.
🙌 Tips to Nail Yoga Swing Tricks
Here are some pro tips to help you succeed (and stay safe):
✅ Warm up with light stretching and mobility work first.
✅ Take your time. Don’t rush into flips until you’re confident with simple inversions.
✅ Use a spotter or instructor when learning anything new.
✅ Breathe and stay calm—tension makes balancing harder.
✅ Listen to your body. Pain ≠ progress.
🤸 Who Can Try Yoga Swing Tricks?
Yoga swing tricks are for everyone—as long as you start at your own level. Whether you’re a yogi, dancer, climber, or total newbie, aerial movements are all about progression. With consistency, you’ll grow stronger, more flexible, and more confident in your body’s abilities.
If you can hold a basic inversion and are comfortable moving in and out of the swing, you’re ready to start exploring tricks.
🌈 Final Thoughts: Let Yourself Play
At the heart of it, yoga swing tricks are about joyful movement. They challenge you to trust your body, face your fears (hello, upside-down!), and embrace play as part of your wellness practice. You don’t need to be a circus artist—just curious and open to learning.
So next time you hop into your yoga swing, don’t just stretch. Spin. Flip. Fly. Explore.
You might surprise yourself with what you can do.

