I’ve built and refined garage gyms for years, from tight one-car spaces to full training bays. Here’s the simple truth: how to set up a home gym in a garage depends on smart planning, safe floors, good airflow, and the right gear for your goals. I’ll show you what works, what to avoid, and how to build a setup that keeps you training for years. This guide blends real-world tips with proven best practices so you can start strong and stay safe.
Exclusive Deals
Limited-time Exclusive Deals. Check current discount on Amazon.
Check Price on Amazon As an Amazon Associate I earn from qualifying purchases.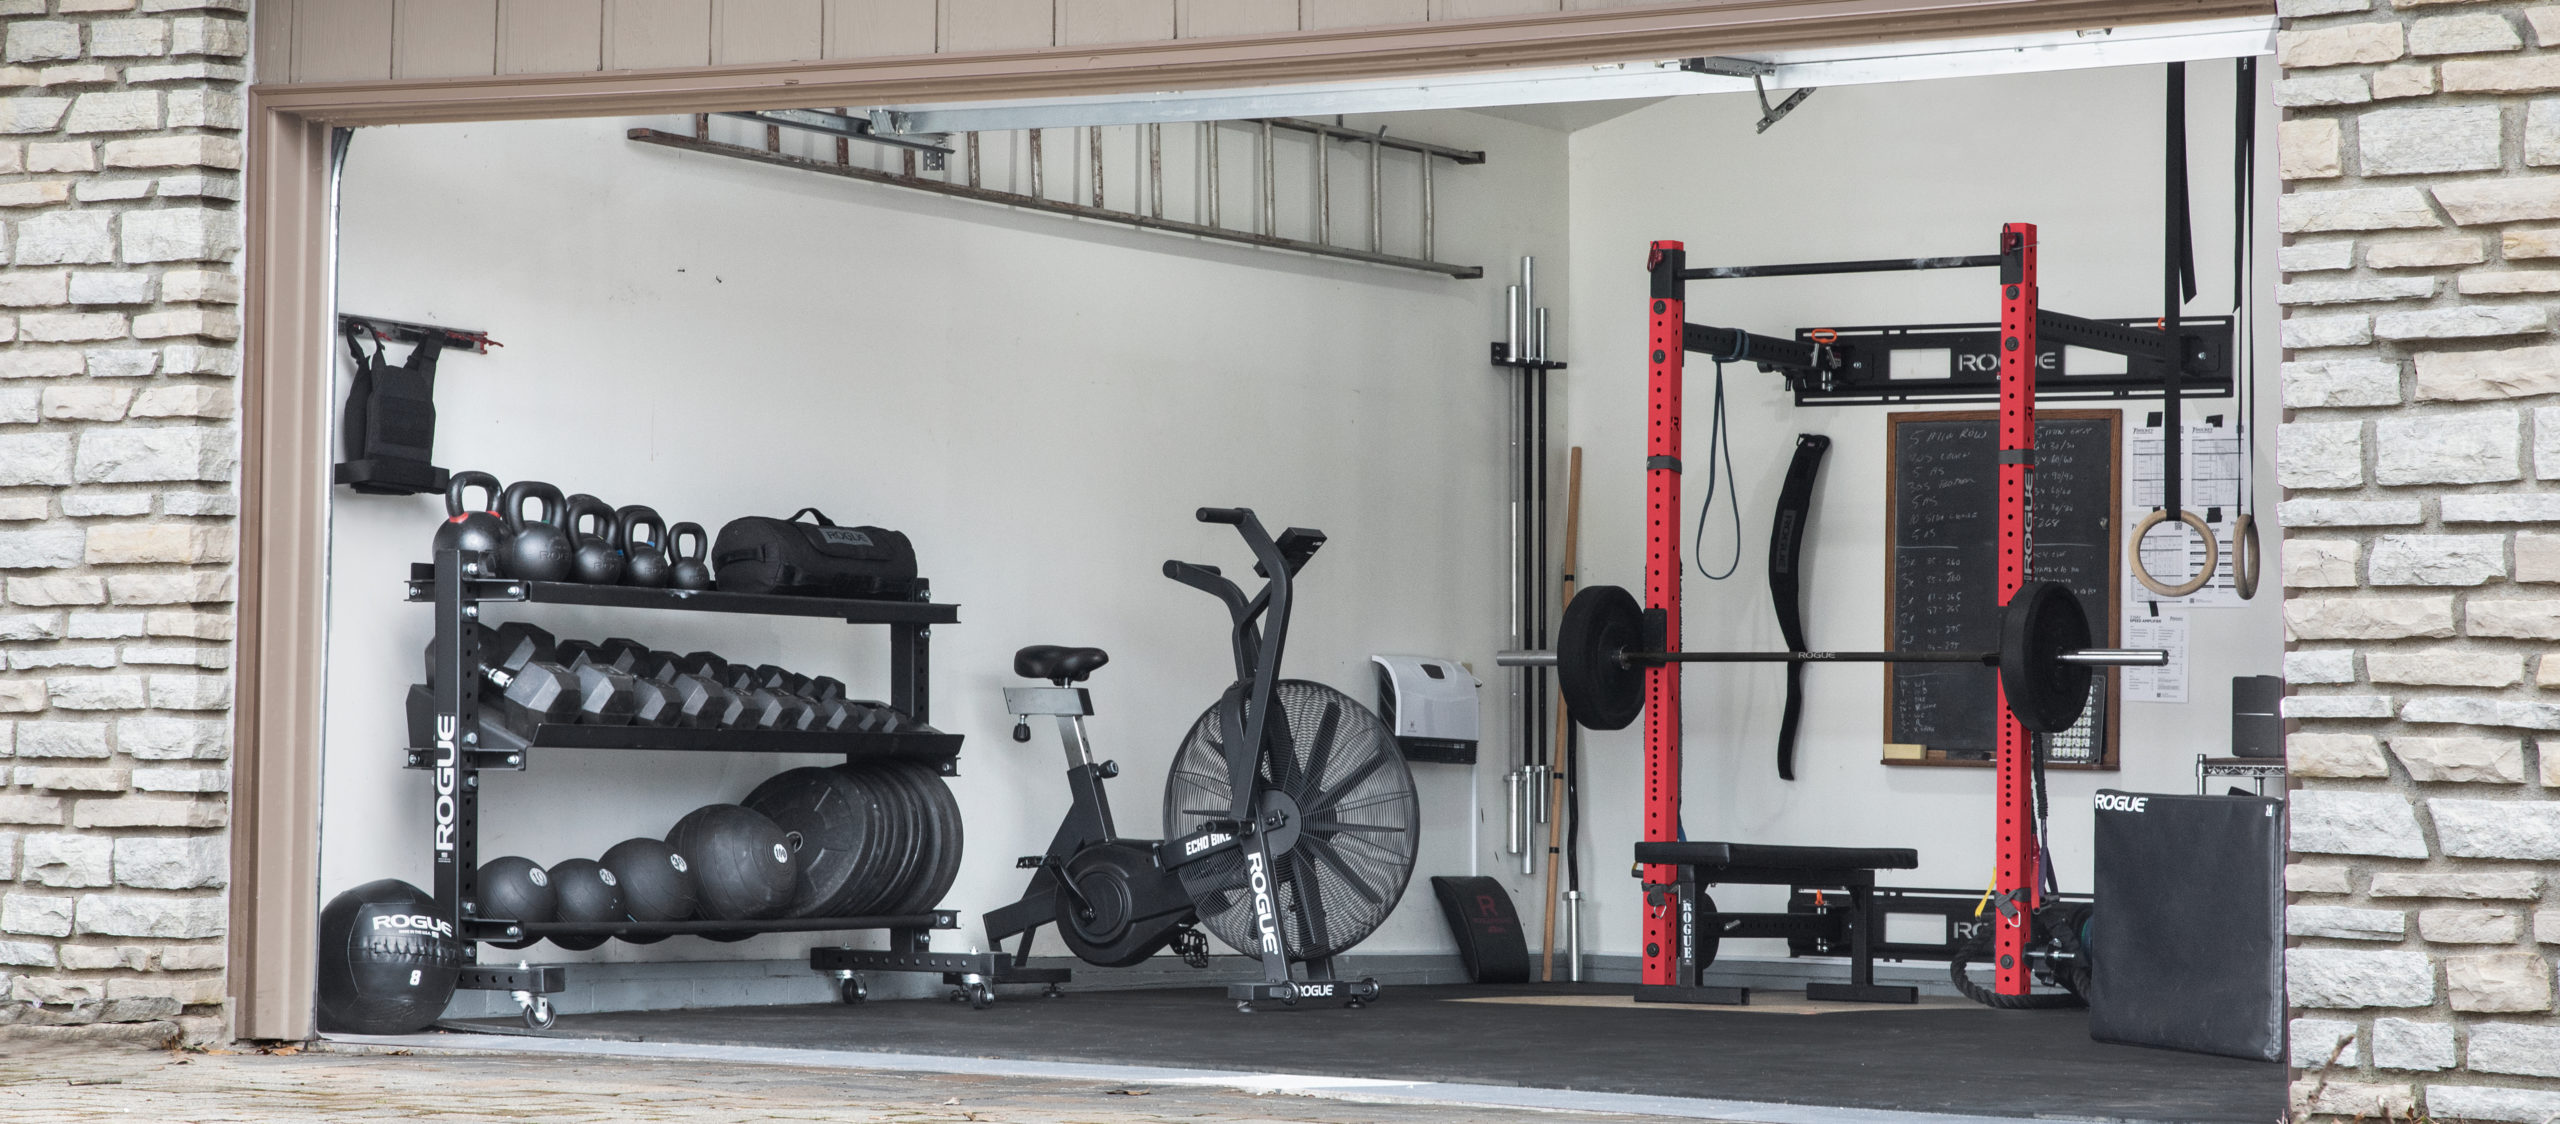
Source: www.crossfit.com
Plan Your Space And Map Your Goals
Start with your goals. Strength, fat loss, mobility, or sport all drive your gear list and layout. A clear target saves money and keeps the space clean.
Measure the full footprint. Note door swing, cars, shelves, water heaters, and panels. Sketch zones for lifting, conditioning, and storage. Leave a safe lane to enter and exit.
Exclusive Deals
Limited-time Exclusive Deals. Check current discount on Amazon.
Check Price on Amazon As an Amazon Associate I earn from qualifying purchases.Use vertical space. Wall racks, pegboards, and overhead racks keep floors clear. Plan anchor points for racks, bands, and a pull-up bar. Keep 3 feet of buffer around lifts for safety.
- Define your primary goal: strength, conditioning, or both
- Measure the floor, ceiling height, and door clearances
- Sketch zones and traffic lanes to avoid clutter
- Reserve wall and ceiling space for storage and pull-ups
Source: labodeteca.com
Insulation, Ventilation, And Climate Control
Garages swing hot and cold. Temperature control protects your health and your gear. Good airflow reduces odors and rust.
Exclusive Deals
Limited-time Exclusive Deals. Check current discount on Amazon.
Check Price on Amazon As an Amazon Associate I earn from qualifying purchases.Aim for fresh air first. Use a box fan at the door and a second fan pulling air out. A dehumidifier helps in humid zones. A space heater or radiant panel can take the chill off in winter.
Insulate the garage door and seal gaps. Rubber door seals keep dust and pests out. Weather strips cut drafts and noise. Avoid open flame heaters in tight spaces.
- Use cross-ventilation with two fans
- Add a dehumidifier to fight rust and smell
- Seal doors and insulate panels for comfort and safety
- Choose safe heaters with tip-over and CO safeguards

Source: www.realhomes.com
Flooring And Safety First
Protect your floor and your joints. Horse stall mats or 3/8–3/4 inch rubber tiles are the gold standard. They cut noise, reduce bounce, and guard concrete.
Level the surface and clean it well. Tape seams or use interlocking tiles to stop edges from lifting. Place a platform or double layer under heavy pulls or Olympic lifts.
Keep a first aid kit and a fire extinguisher on the wall. Mount mirrors at squat height if you use them for checks. Keep chalk and small items in bins so they don’t become trip risks.
- Use 3/8–3/4 inch rubber mats
- Reinforce under deadlift zones
- Secure seams to prevent trips
- Mount first aid and extinguisher within reach
Source: bemissioncapable.com
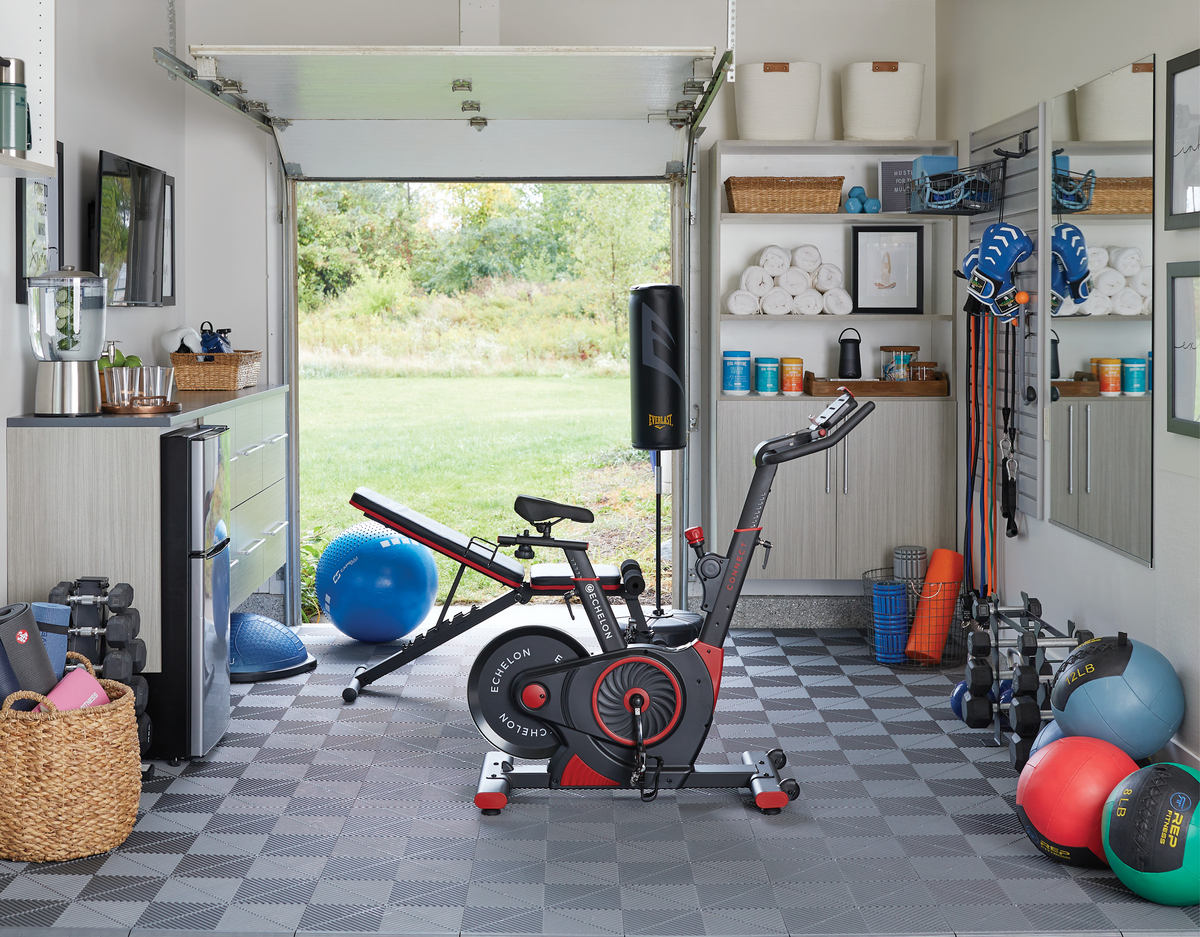
Power, Lighting, And Smart Storage
Bright, even light boosts mood and safety. LED shop lights are cheap and bright. Aim for 50–100 lumens per square foot in lifting zones.
Plan outlets for a fan, dehumidifier, and cardio gear. Use heavy-duty surge strips. Keep cords off the floor with cable clips.
Store vertical. A folding rack frees floor space. Use wall rails for barbells, plates, and bands. Clear bins with labels save time and stress.
- Install LED shop lights with high CRI for better visibility
- Use dedicated circuits for big cardio machines if needed
- Mount cable management and cord reels
- Add labeled bins and a wall-mounted plate tree

Source: www.youtube.com
Equipment Essentials By Goal
Start with the minimum you will use three times a week. Add later as habits stick. Quality beats quantity.
For strength:
- Power rack or folding rack with safeties
- Flat bench with solid pad
- Barbell and plates, including fractional plates
- Adjustable dumbbells or a small fixed set
- Pull-up bar and resistance bands
For conditioning:
- Jump rope and a rower or air bike
- Kettlebells in 2–4 sizes
- Slam ball or medicine ball
- Timer and heart rate monitor
For mobility and recovery:
Foam roller and lacrosse ball
Yoga mat and light bands
Small stool or box for hip and ankle work
Prioritize multi-use items like a rack, barbell, and bands
Match conditioning tools to your joints and space
Leave an open zone for floor work and carries
Budgeting And Buying Smart
Set a tiered budget: must-have, nice-to-have, and future add-ons. This keeps you from overbuying and helps you track progress.
Buy heavy metal once. A solid rack, a good bar, and rubber mats last for years. Consider used plates, dumbbells, and kettlebells. Many gyms and garages sell quality gear at a discount.
Check return policies and warranties. Compare load ratings, knurl specs, and mat density. Read user reviews for noise, rust resistance, and ease of assembly.
- Spend on rack, barbell, bench, and mats first
- Hunt local marketplaces for plates and bells
- Favor gear with strong warranties and proven ratings
Step-By-Step Setup And Sample Layouts
Follow this quick order. It saves time and fixes most headaches I see on installs.
- Clear the garage and deep clean the floor
- Seal cracks and let them dry
- Lay rubber mats from a straight edge and cut to fit
- Mount lights, fans, and storage rails
- Build and anchor the rack and pull-up bar
- Place bench, bar, and plates
- Add cardio gear and mobility tools
- Label bins and hang a small whiteboard for plans
Sample layouts:
One-car, mixed use:
- Folding rack on side wall
- Rower under rack, pulls out to center
- Plate tree near rear wall
- Fan and dehumidifier at the door corner
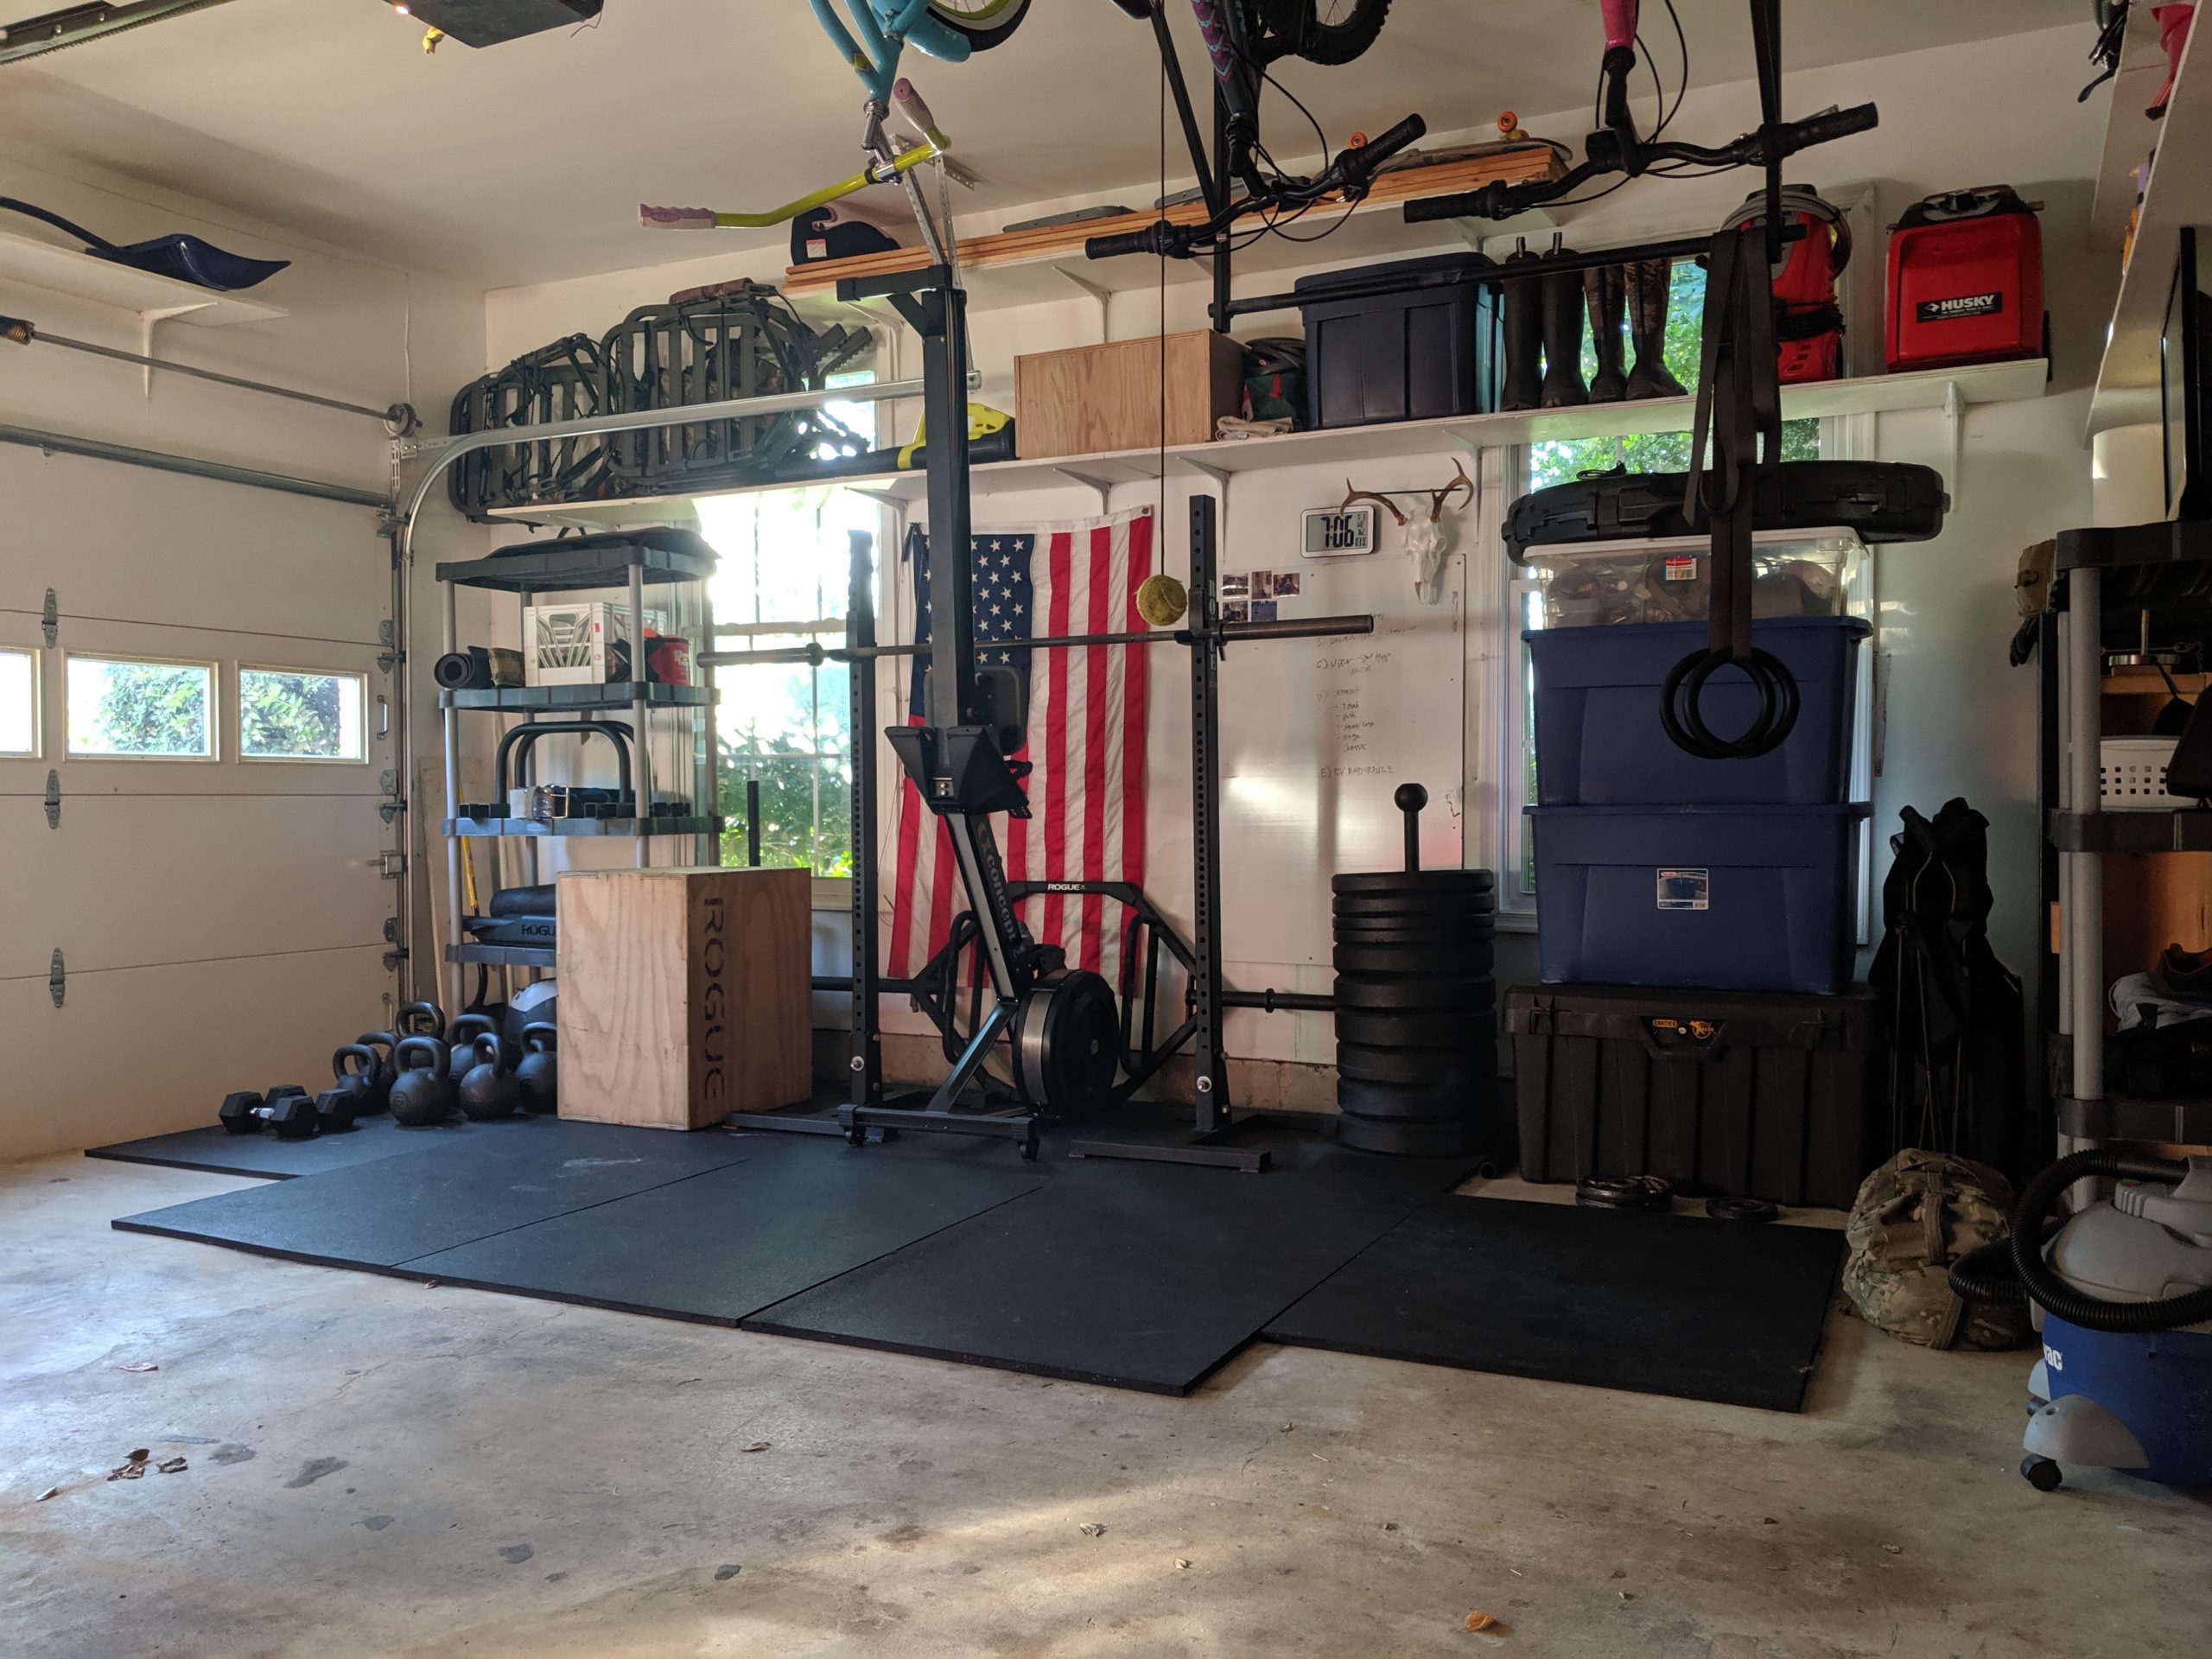
Two-car, strength focus:
Full rack centered between doors
Platform and mats in front
Dumbbell rack against side wall
Air bike in corner for finishers
Keep a 3-foot safety lane
Position fans to pull air across your main lifting area
Store small tools at arm height near the rack
Programming, Recovery, And Habit Systems
A great gym is only as good as your routine. Keep it simple and track it.
Pick a 3–4 day plan that fits your life. Use a whiteboard to list today’s lifts and times. Warm up with light moves and joint work. Cool down with easy breath work.
Plan recovery. Sleep, protein, and consistent mobility keep you going. Keep a water bottle and a towel in the gym. Put a small speaker on the wall to keep vibes high.
- Use a simple plan with progress built in
- Warm up 5–10 minutes, lift, then finish with easy cardio
- Track loads, reps, and how you feel each day
- Build a default workout for busy days
Maintenance, Hygiene, And Safety Checks
Treat your garage gym like a car you rely on. Small care now prevents big costs later.
Wipe bars and plates after use. Keep chalk off sleeves and bushings. Check bolts on racks and benches every month. Vacuum mats weekly to cut dust and grip loss.
Watch humidity and rust. Oil the barbell lightly if you see oxidation. Rotate plates and dumbbells so wear stays even. Replace bands when they crack.
- Monthly bolt and anchor checks
- Weekly mat cleaning and bar wipe-down
- Humidity and airflow checks at season changes
- Clear a spill kit for sweat and water leaks
Lessons Learned, Mistakes To Avoid
I’ve made the errors so you don’t have to. Here are the big ones.
Buying too much, too soon. Use a core kit for 60 days before adding more. If it gathers dust, you didn’t need it.
Skipping airflow. A hot, damp garage kills motivation. Fans and a dehumidifier are game changers.
Ignoring safeties. Spotter arms or straps are non-negotiable if you lift alone. Test them at light loads first.
Poor cable management. Loose cords lead to trips. Mount reels and clips from day one.
- Start lean and build slow
- Prioritize fans, safeties, and mats
- Keep cords and small items off the floor
- Test new gear at light loads before you go heavy
Frequently Asked Questions Of How To Set Up A Home Gym In A Garage?
How Much Does A Garage Gym Cost To Start?
A solid starter setup can range from $600 to $1,500. That covers mats, a basic rack, a bench, a bar, and used plates. Add-ons like a rower or dumbbells raise the total.
Do I Need To Bolt The Rack To The Floor?
If it is not a heavy, wide-base rack, yes. Anchoring improves safety, especially for pull-ups and rack pulls. Folding racks should mount to studs with rated hardware.
What Thickness Of Rubber Mats Should I Use?
Use 3/8 inch at minimum. Go to 1/2 inch or a platform layer for heavy deadlifts or Olympic lifts. Denser mats reduce bounce and noise.
How Do I Handle Heat And Cold?
Use two fans for cross-breeze and a dehumidifier for moisture. In cold months, add a safe space heater and warm up longer. Insulation and door seals help year-round.
Can I Lift Heavy On A Garage Slab?
Yes, with protection. Use thick mats and a platform to spread force. Avoid dropping from overhead unless you have proper bumper plates and padding.
What Are The Best Space-Saving Tips?
Use a folding rack, wall-mounted plate storage, and adjustable dumbbells. Hang bands, ropes, and belts. Slide a rower or bench under the rack when not in use.
How Do I Keep Noise Down For Neighbors?
Use dense rubber, lift with control, and avoid sloppy drops. Add door seals and keep the garage closed during late sessions. A platform with sand or foam layers helps.
Wrap-Up And Next Steps
A great garage gym is simple, safe, and tailored to you. Plan the space, control the climate, protect the floor, and buy quality gear that supports your goals. Build habits that stick, maintain your tools, and keep the space clear and bright.
Start with one action today. Measure your space, lay a mat, or mount a light. Small steps stack fast. Ready for more? Subscribe for checklists, sample programs, and gear reviews, or drop a comment with your layout and I’ll help you tune it.