
To make a water chiller for a cold plunge, start by assembling a cooling coil, a submersible pump, and a large container of water. Connect the pump to the coil, submerge in the water, and power it to chill.
Creating your own water chiller for a refreshing cold plunge can enhance your at-home spa experience and provide numerous health benefits like improved circulation and muscle recovery. Embrace the therapeutic effects of a chilled dip by building an efficient chiller that rivals commercial units—at a fraction of the cost.
With straightforward components and a bit of DIY spirit, you can set up a system that seamlessly integrates with your plunge pool or tub. Crafted for wellness enthusiasts and DIY hobbyists alike, this practical approach to cold water therapy brings a professional edge to your personal health routine. Without extensive technical knowledge or an exorbitant budget, you can chill your plunge pool effectively, ensuring optimal recovery and revitalization after intense workouts or simply as a daily ritual.
The Benefits Of Cold Plunge Therapy
Imagine rejuvenating your body with a rush of invigorating cold water. Cold plunge therapy does just that. This ancient practice provides numerous physical and mental health benefits. It’s gaining popularity among athletes, wellness enthusiasts, and anyone looking to enhance their wellbeing.
Physical Advantages
Cold plunge therapy sparks several physical responses in the body. It may aid in reducing muscle inflammation. As you immerse your body in cold water, your blood vessels constrict. This process helps to decrease swelling and numb nerve endings, quickly relieving pain. Below is a list of physical advantages:
- Speeds up muscle recovery
- Reduces soreness after workouts
- Improves circulation
- Boosts immune system
Mental Health Improvement
The shock of cold water not only benefits the body. It can improve your mental health. When you push yourself to take the plunge, you’re also training your mind to handle stress better. Your body reacts to the cold by stimulating your sympathetic nervous system. This may lead to:
| Benefits | Description |
|---|---|
| Increased Endorphins | The ‘feel-good’ hormones that boost your mood |
| Reduced Stress | Through the reduction of cortisol levels |
| Better Sleep | By normalizing body temperature and promoting relaxation |
| Enhanced Focus | Sharpens your mental clarity and concentration |
Credit: andrewconner.com
Essential Components Of A Diy Water Chiller
Building your own water chiller for a cold plunge pool? Great! Essential components matter the most to get it right. From picking the best cooling unit to controlling temperature and keeping heat out, let’s dive into these main pieces.
Choosing The Right Cooling Unit
Size and power are key for cooling units. They must match your pool size. A unit too small won’t cool effectively. Too big wastes energy. Find the balance. Aim for eco-friendly options to save energy and protect the environment.
Thermostat Regulation
Maintaining the perfect water temperature is a must. Thermostats control this. Choose a digital one for precise adjustments. Ensure it’s waterproof for safety. Regular checks keep temperatures just right for a refreshing plunge.
Insulation Requirements
Insulation keeps the cold in. Without it, chillers work harder, costing more money. Reflective panels and foam are great choices. Cover exposed pipes too. This helps maintain temperatures and improves efficiency.
| Material | Pros | Cons |
|---|---|---|
| Foam | Lightweight, easy to install | Can degrade over time |
| Reflective Panels | Great for high heat areas | May require professional installation |
Step-by-step Construction Process
Ready to dive into building your own water chiller for a cold plunge? Let’s break down the construction process. With a few steps, create a refreshing escape right in your home!
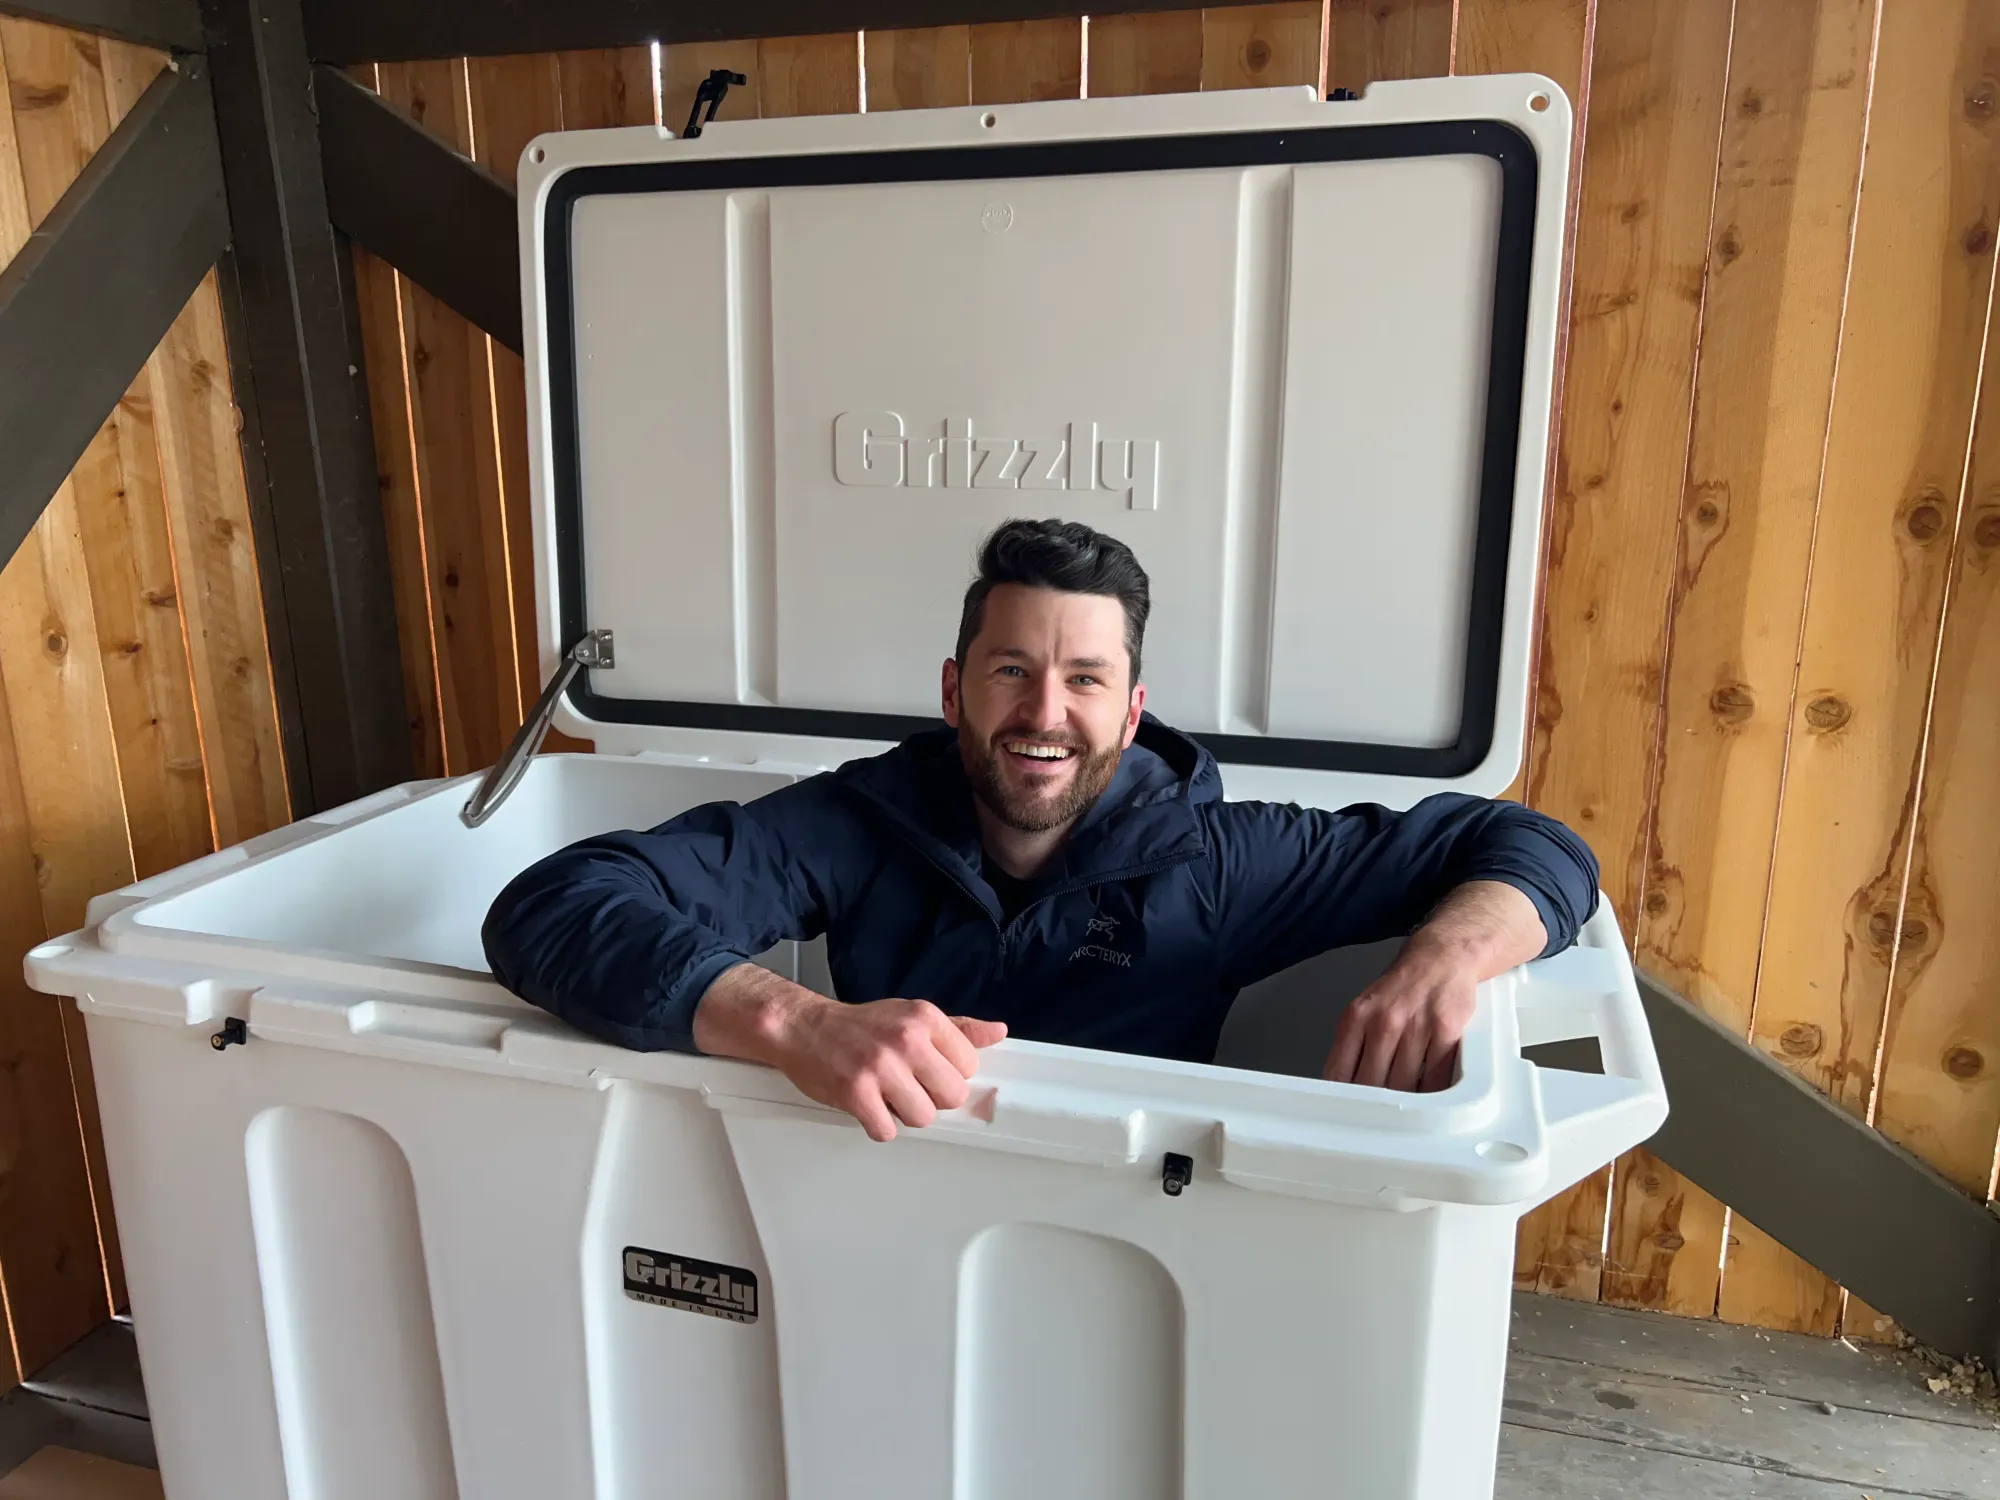
Selecting Your Container
Finding the perfect container is the first crucial step. Here’re things to consider:
- Size: Ensure it fits your space and body comfortably.
- Material: Aim for durability, like plastic or fiberglass.
- Insulation: Look for containers with good heat retention.
Installing The Cooling System
Next, set up the cooling mechanism. Follow these actions:
- Choose a chiller unit that meets your container’s volume.
- Secure the chiller to the container, typically outside.
- Connect pipes or hoses from the chiller to the container for water circulation.
Pay attention to the manufacturer’s guide for best results.
Testing For Leaks
Last step — we test. Fill the container and run the system. Watch for:
- Water seepage: Check all connections and the container itself.
- Temperature: Ensure the chiller lowers the water to your desired coolness.
Address any leaks by tightening connections or applying sealant.

Credit: blog.irace.ai
Maintaining Ideal Temperatures For Your Chill
Maintaining Ideal Temperatures for Your Chill ensures the best cold plunge experience. Your homemade water chiller must reliably reach and keep the water at your desired coolness. Follow easy steps to keep your cold plunge refreshingly crisp.
Calibrating Your Thermostat
Start with accurate thermostat calibration. This means setting your chiller’s thermostat to the perfect temperature for your cold plunge. Use a digital thermometer to verify the chiller’s reading.
- Turn on the chiller and let it cool water.
- Place the digital thermometer in water.
- Compare readings and adjust the chiller until they match.
This step is crucial for consistency and safety. It helps avoid overcooling or insufficient chilling.
Frequent Temperature Checks
Keep water consistently cold through routine checks. Temperature can fluctuate due to various factors like room temperature or frequent use. Check the water temperature multiple times throughout usage.
- Have a set schedule to monitor water temperatures.
- Log readings to track any changes over time.
- Carry out immediate adjustments as needed.
Regular monitoring is essential to maintain the invigorating effects of your cold plunge therapy.
Safety Measures And Precautions
Building a water chiller for a cold plunge is a great DIY project. But safety is key. Before diving in, let’s cover essential safety steps to protect against risks. Quick, clear steps will keep both you and your chiller safe.
Electrical Hazards
Electricity and water are a dangerous mix. Always prioritize safety when they interact:
- Use GFCI outlets – These outlets prevent electric shock. They are a must near water.
- Secure connections – Keep plugs dry and away from water. Firm connections stop electric hazards.
- Regular checks – Inspect wires and devices often. Look for wear or damage. Replace faulty items fast.
- Waterproof covers – Protect outlets with waterproof cases. Wet outlets are risky.
Water Contamination Concerns
Keeping water clean is vital. Contaminated water can cause illness. Follow these steps to stay healthy:
- Use a filter – A good filter keeps water clean. Change it as needed.
- Chemical balance – Check water pH and sanitizer levels. Balance them to avoid bacteria growth.
- Clean regularly – Empty and scrub the tank. Do this often to stop algae and slime buildup.
- Shower first – A quick rinse reduces what gets into the plunge pool. It helps keep water pure.

Credit: chestfreezercoldplunge.com
Tips And Tricks For An Enhanced Cold Plunge Experience
Ready for a shiver and shake in your homemade water chiller? With the right tips and tricks, make every cold plunge unforgettable. Enhance your experience with ease.
Using Additives For Skin And Muscle Relief
Add a boost to your cold plunge with these simple additives:
- Epsom Salt – for muscle relaxation.
- Essential Oils – like lavender, for a calming scent.
- Aloe Vera – to nourish your skin.
Just a scoop or a few drops can do wonders. Remember, a little goes a long way!
Creative Customization Ideas
Make your cold plunge unique and more enjoyable.
- Add colorful LED lights for a vibrant ambiance.
- Install a temperature gauge for precise chill control.
- Use a timer to track your plunge durations easily.
- Integrate an audio system to play music or guided meditation.
Customize and enjoy a plunge that’s just right for you.
Frequently Asked Questions On How To Make A Water Chiller For Cold Plunge
What Is A Water Chiller For Cold Plunge?
A water chiller for cold plunge is a device used to cool water in a tub or pool. It’s specifically designed for therapy or exercise purposes, allowing users to immerse in chilled water. The chiller maintains a consistent, low temperature to provide the benefits of cold water therapy.
How Does A Water Chiller System Work?
A water chiller system works by using a refrigeration cycle. It absorbs heat from the water and expels it outside the system. The chiller circulates the water, ensuring it remains at the desired cold temperature for an optimal cold plunge experience.
Can I Build A Diy Water Chiller For Home Use?
Yes, you can construct a DIY water chiller using basic materials like a cooler, a water pump, copper tubing, and a refrigerator or air conditioning unit. By assembling these components, you can create an effective chilling system for home cold plunge setups.
What Are The Benefits Of Cold Plunge Therapy?
Cold plunge therapy offers numerous benefits, such as reduced inflammation, improved circulation, and faster muscle recovery. It can also enhance mental clarity and provide a natural energy boost, making it popular among athletes and wellness enthusiasts.
Conclusion
Crafting your own water chiller for cold plunges is rewarding. By following the steps outlined, you’ll enjoy a refreshing, icy dip anytime. Remember, regular maintenance ensures longevity. So, celebrate your ingenuity and dive into invigorating, chilled waters at your convenience.
Stay cool and rejuvenated!
