
Waxing your snowboard is one of those skills every rider should learn. It makes your board faster, smoother, and helps you enjoy your time on the mountain more. Many beginners think waxing is only for pros, but that’s not true.
Anyone can do it at home with a little care. If you want to get the most out of your snowboard and make it last longer, regular waxing is a must. This guide will show you each step clearly, explain what you need, and help you avoid common mistakes—so you can wax your snowboard like a pro, even if you’ve never tried before.
Why Waxing Your Snowboard Matters
A well-waxed snowboard glides easily over snow. This means less effort, more speed, and better control. When your board is dry or the base looks white and chalky, you’ll notice it drags and slows down. Wax acts as a protective layer, reducing friction between the board and the snow.
Waxing also keeps your board’s base from drying out and cracking. If you ride often, you should wax every 3-5 times you hit the slopes. For casual riders, once every few weeks is enough. Skipping waxing makes your board slow and less fun to ride.
Plus, a dry base can get damaged easily.
What You Need Before You Start
You don’t need a fancy workshop to wax your snowboard. Most tools are affordable and easy to find. Here’s what you need:
- Snowboard wax: Get all-temperature or choose one for the snow you usually ride on.
- Waxing iron: A regular clothes iron works, but a snowboard-specific iron is better.
- Plastic scraper: For removing extra wax.
- Nylon or horsehair brush: To polish and finish the base.
- Fiber cloth: For cleaning and finishing.
- Base cleaner or rubbing alcohol: Helps remove old wax and dirt.
- Workbench or stable surface: Keeps your board steady.
Some people add a metal scraper or a brass brush for extra cleaning, but these aren’t essential for beginners.
Choosing The Right Wax
The kind of wax you use matters. There are two main types:
- Universal (all-temp) wax: Good for most conditions. Ideal for beginners.
- Temperature-specific wax: Designed for cold, warm, or spring snow. Helps maximize speed in certain weather.
Here’s a quick comparison:
| Wax Type | Best Use | Pros | Cons |
|---|---|---|---|
| All-Temp Wax | General riding, changing weather | Easy, versatile | Not optimized for extreme temps |
| Cold Temp Wax | Below -6°C (21°F) | Best for cold, dry snow | Slower in warm snow |
| Warm Temp Wax | Above -6°C (21°F) | Best for wet, slushy snow | Not for cold conditions |
If you’re unsure, start with all-temp wax. You can experiment with specialty waxes once you’re comfortable.
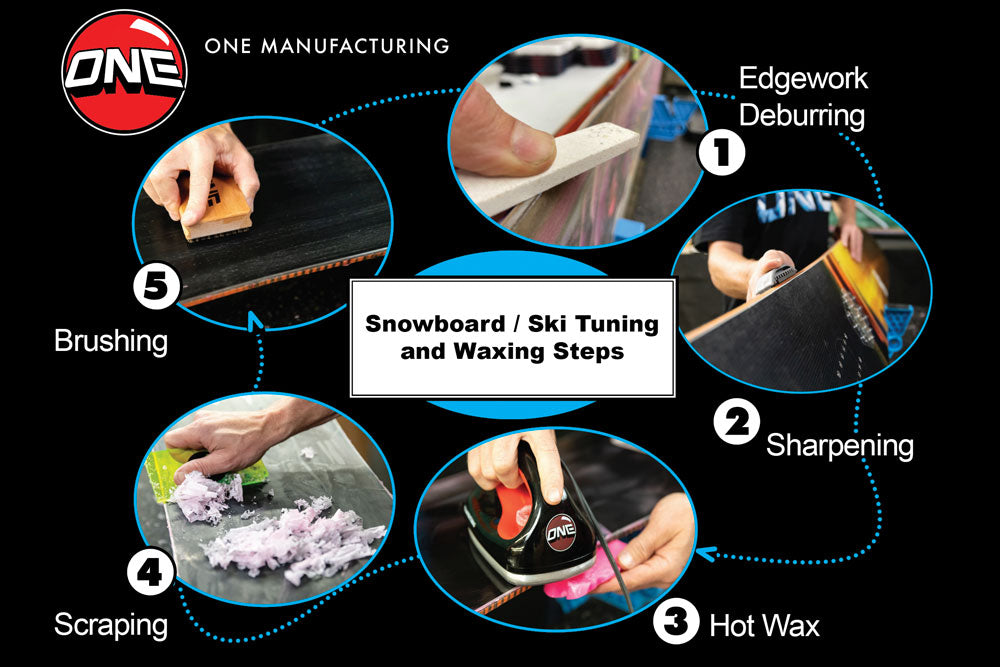
Step-by-step Guide To Waxing Your Snowboard
1. Set Up Your Workspace
Find a clean, well-ventilated area. Wax can drip, so lay down old newspapers or a tarp. Place your board base-up on a solid surface. You can use snowboard stands, but two chairs work in a pinch.
2. Clean The Base
Use a base cleaner or rubbing alcohol and a fiber cloth to wipe the board’s base. Remove dirt, old wax, and grime. This step is important—wax sticks better to a clean base. Wait a few minutes for the cleaner to dry.
Pro tip: If you ride in dirty snow, clean more often. Dirt under the wax hurts performance.
3. Remove Old Wax (if Needed)
If there’s a lot of old, built-up wax, use a plastic scraper to gently scrape it off. Hold the scraper at a 45-degree angle and push from tip to tail. Don’t dig into the base—just remove the surface layer.
4. Heat The Iron
Plug in your waxing iron and set it to a low or medium setting (about 120–140°C, or 250–285°F). If it smokes, it’s too hot. Hot wax can damage your board.
5. Apply The Wax
Hold the wax against the iron and let it drip onto the base. Move the iron and wax together, making a zig-zag pattern down the board. You only need a thin layer—too much wax just wastes money.
6. Spread The Wax Evenly
Place the iron directly on the base and slowly move it around. Spread the wax in smooth, even strokes, tip to tail. Don’t leave the iron in one spot for too long, or you can burn the base. Aim for 6–10 minutes to cover the whole board.
Non-obvious tip: Make sure the edges get waxed too. Dry edges can catch and feel slow.
7. Let The Wax Cool
Wait at least 20–30 minutes for the wax to cool and harden. Some riders wait overnight, but 30 minutes is enough for most home waxing.
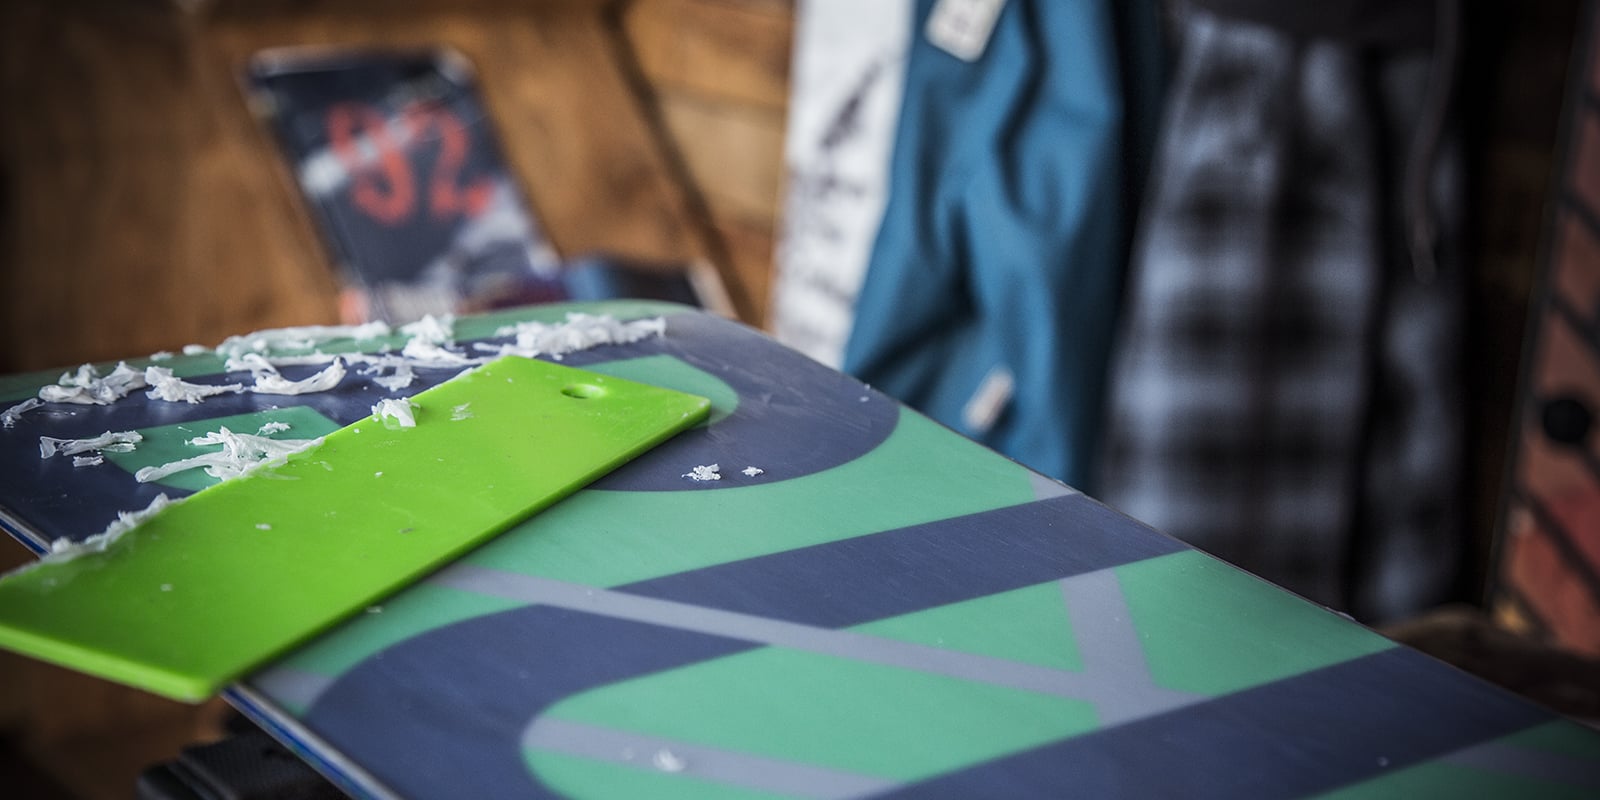
8. Scrape Off Excess Wax
Hold your plastic scraper at a 45-degree angle and scrape from nose to tail. Use firm, even pressure. Remove all visible wax. Don’t worry—you’re not removing all the wax. The wax that soaked into the base stays put.
Beginner mistake: Leaving thick layers of wax slows your board. Scrape until only a thin, smooth layer remains.
9. Brush And Polish
Use a nylon or horsehair brush to buff the base. Brush in one direction (nose to tail) with quick, firm strokes. This step cleans up micro-particles and helps your board glide faster.
Finish with a fiber cloth to remove any dust or leftover wax.
10. Check The Edges And Finish
Wipe off any wax on the edges with the scraper or cloth. Wax on the metal edges can make them slippery and harder to control. Your board should now look shiny and feel smooth.

When Should You Wax Your Snowboard?
The answer depends on how often you ride, the snow conditions, and the type of snow. As a rule of thumb:
- Every 3–5 days of riding if you want top speed
- After riding in very wet, slushy, or dirty snow
- If the base looks dry, white, or chalky
- At the start and end of each season
If you’re a casual rider, waxing once a month is usually enough.
Hot Wax Vs. Rub-on Wax
You’ll see two main types of waxing:
- Hot waxing: Uses heat to melt wax into the base. Lasts longer and works better.
- Rub-on waxing: Quick, no iron needed. Good for emergencies, but wears off fast.
Here’s how they compare:
| Wax Method | Durability | Performance | Effort |
|---|---|---|---|
| Hot Wax | 5–10 days | Best | More work |
| Rub-On Wax | 1–2 days | Good for quick fix | Very easy |
Hot waxing gives the best results and protection. Use rub-on only if you’re in a hurry.
Common Mistakes To Avoid
Many first-timers run into the same problems. Here’s what to watch out for:
- Overheating the iron: If wax smokes, it’s too hot. This can damage your board.
- Using too much wax: Thick layers make scraping harder and waste wax.
- Not scraping enough: Leaving wax on slows your board.
- Skipping the cleaning step: Dirt under wax hurts performance.
- Waxing metal edges: Makes them slippery and dangerous.
- Waxing a cold board: Let the board warm to room temperature first.
- Not brushing after: Skipping this step makes the board slower.
A little care at each stage makes a big difference.
How Waxing Affects Performance
You may wonder if waxing is really worth the time. Studies show that freshly waxed boards can glide up to 20% faster than unwaxed ones, especially in sticky or wet snow. Racers and advanced riders wax before every session to get an edge.
If you’re a beginner, you’ll notice your board feels smoother and easier to turn after waxing. It’s less about raw speed, and more about the ride feeling “right. ” Over time, waxing also helps your board last longer by preventing base damage.
Advanced Tips For The Best Results
Once you get comfortable with basic waxing, try these tips for even better performance:
- Use a brass brush before waxing: Opens up the base, helping wax soak in deeper.
- Mix waxes: Layer a hard, cold wax first, then a soft, warm wax on top for changing weather.
- Polish with a cork: Rubbing the base with natural cork after brushing can add extra smoothness.
Remember, you don’t need to do these every time. For most riders, a simple hot wax is enough.
Environmental Tips And Safety
Some waxes contain chemicals that can harm the environment. Look for eco-friendly waxes made from natural or non-toxic materials. Always wax in a well-ventilated area and avoid breathing in fumes.
Dispose of wax shavings in the trash, not down the drain. This keeps chemicals out of water sources.
For more on safe, eco-friendly snowboarding, check out EPA Safer Choice.
Frequently Asked Questions
How Long Does It Take To Wax A Snowboard?
From start to finish, waxing usually takes about 45 minutes. That includes cleaning, applying wax, cooling time, scraping, and brushing. If you let the wax cool overnight, add more time.
Can I Use A Regular Iron For Waxing?
You can use a regular clothes iron (no steam), but a snowboard-specific waxing iron gives better control. Do not use the iron for clothes after waxing, as wax residue can stain fabric.
How Do I Know If My Snowboard Needs Wax?
Signs your board needs waxing include a white, dry, or chalky-looking base, slow speed, or sticky feeling while riding. If snow sticks to your base, it’s time to wax.
Is Waxing The Same For Skis And Snowboards?
Yes, the process is almost identical for skis and snowboards. Only the shape and size differ, but the cleaning, waxing, and scraping steps are the same.
Can I Damage My Board By Waxing?
If you overheat the base with a too-hot iron or leave the iron in one spot, you can damage your board. Always keep the iron moving and use the right temperature.
Waxing your snowboard is a skill that saves money and makes every ride smoother. With the right tools and these steps, you’ll enjoy better performance and help your board last longer. Don’t worry about being perfect—each time you wax, you’ll get faster and more confident.
Happy shredding!
