
Snowboarding is exciting, fast, and challenging. Many people dream of gliding down the mountain with smooth turns, leaving perfect lines on the snow. One key skill every snowboarder wants to master is the snowboard carve. Carving is not just about turning—it’s about making clean, controlled arcs on your snowboard, using the edges, and feeling connected to the slope. When you carve correctly, you ride with style, control, and speed. Whether you are new to snowboarding or have some experience, learning how to do a snowboard carve opens up a whole new level of riding. This guide will walk you through everything you need to know, from basic concepts to advanced tips, so you can enjoy the thrill of carving down the mountain.
What Is A Snowboard Carve?
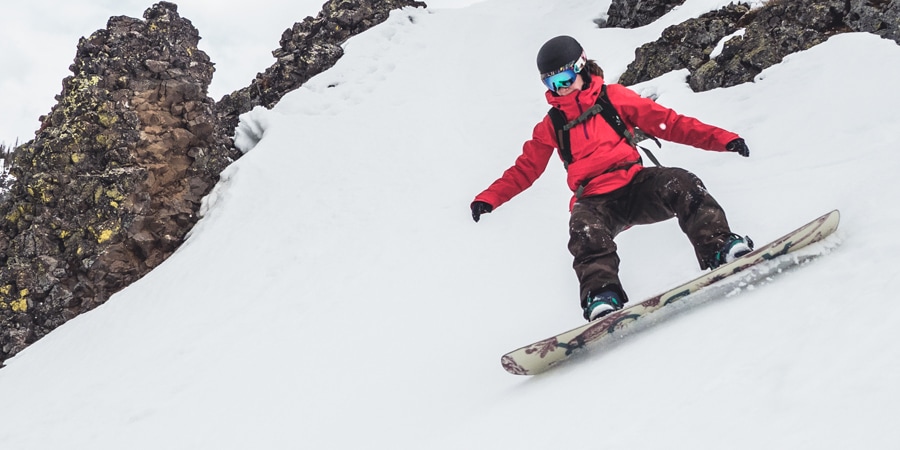
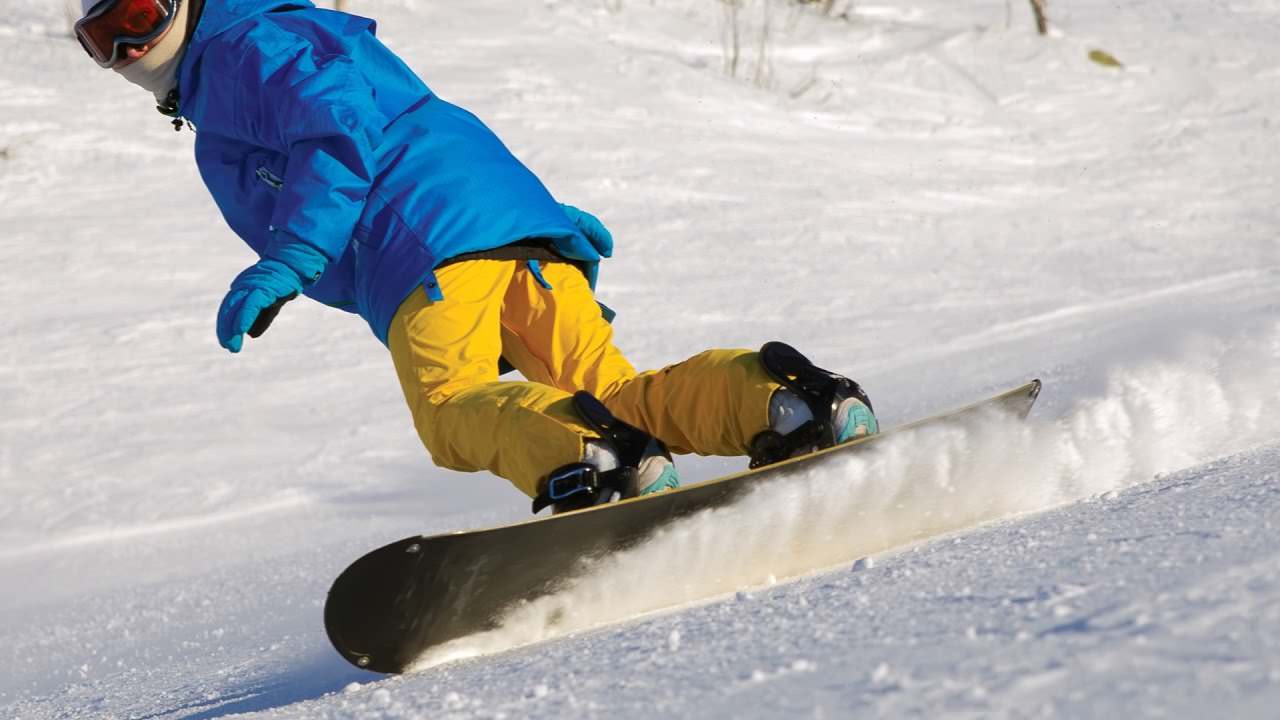
A snowboard carve is a type of turn where the snowboard’s edge cuts into the snow, creating a clean line without sliding or skidding. Unlike a regular turn, where the board may slide sideways, a carve keeps almost all movement along the edge. This makes your turns more efficient, faster, and more controlled. Carving is popular with advanced riders, but beginners can learn the basics with the right guidance.
Carving is important because it helps you:
- Maintain better speed control
- Ride more efficiently with less effort
- Improve balance and stability
- Look stylish and confident on the slopes
When you master carving, you also reduce the risk of catching an edge, which often leads to falls.
Essential Gear For Carving
Before you start carving, having the right equipment makes a big difference. Here’s what matters most:
Snowboard Choice
Choose a directional or all-mountain board with a medium to stiff flex. These boards offer better edge hold and stability at higher speeds. If you use a soft, freestyle board, it may feel wobbly and less precise during carves.
Bindings
Your bindings should fit well and be set at the right angle. For carving, a slightly forward stance (like 15° front, 9° back) often helps. This keeps your knees comfortable and lets you apply pressure to the edges more easily.
Boots
Stiff boots give you more control when you put pressure on the edges. Make sure your boots fit well to avoid heel lift, which can reduce your control during turns.
Edge Sharpness
Always check your edges before carving. Sharp edges bite into the snow and let you hold clean lines. Dull edges can slip and make carving difficult, especially on icy slopes.
| Gear | Recommended for Carving | Why It Matters |
|---|---|---|
| Snowboard | Directional or All-mountain, Medium-Stiff Flex | Better edge hold and stability |
| Bindings | Firm fit, Forward stance angles | Allows precise edge pressure |
| Boots | Stiff, snug fit | Improves response and control |
| Edges | Sharp, well-maintained | Clean grip on snow |
Understanding The Carving Technique
To carve well, you need to understand the basic movement. Carving is about using your edges, body position, and timing. Here’s what you need to know:
Edge Engagement
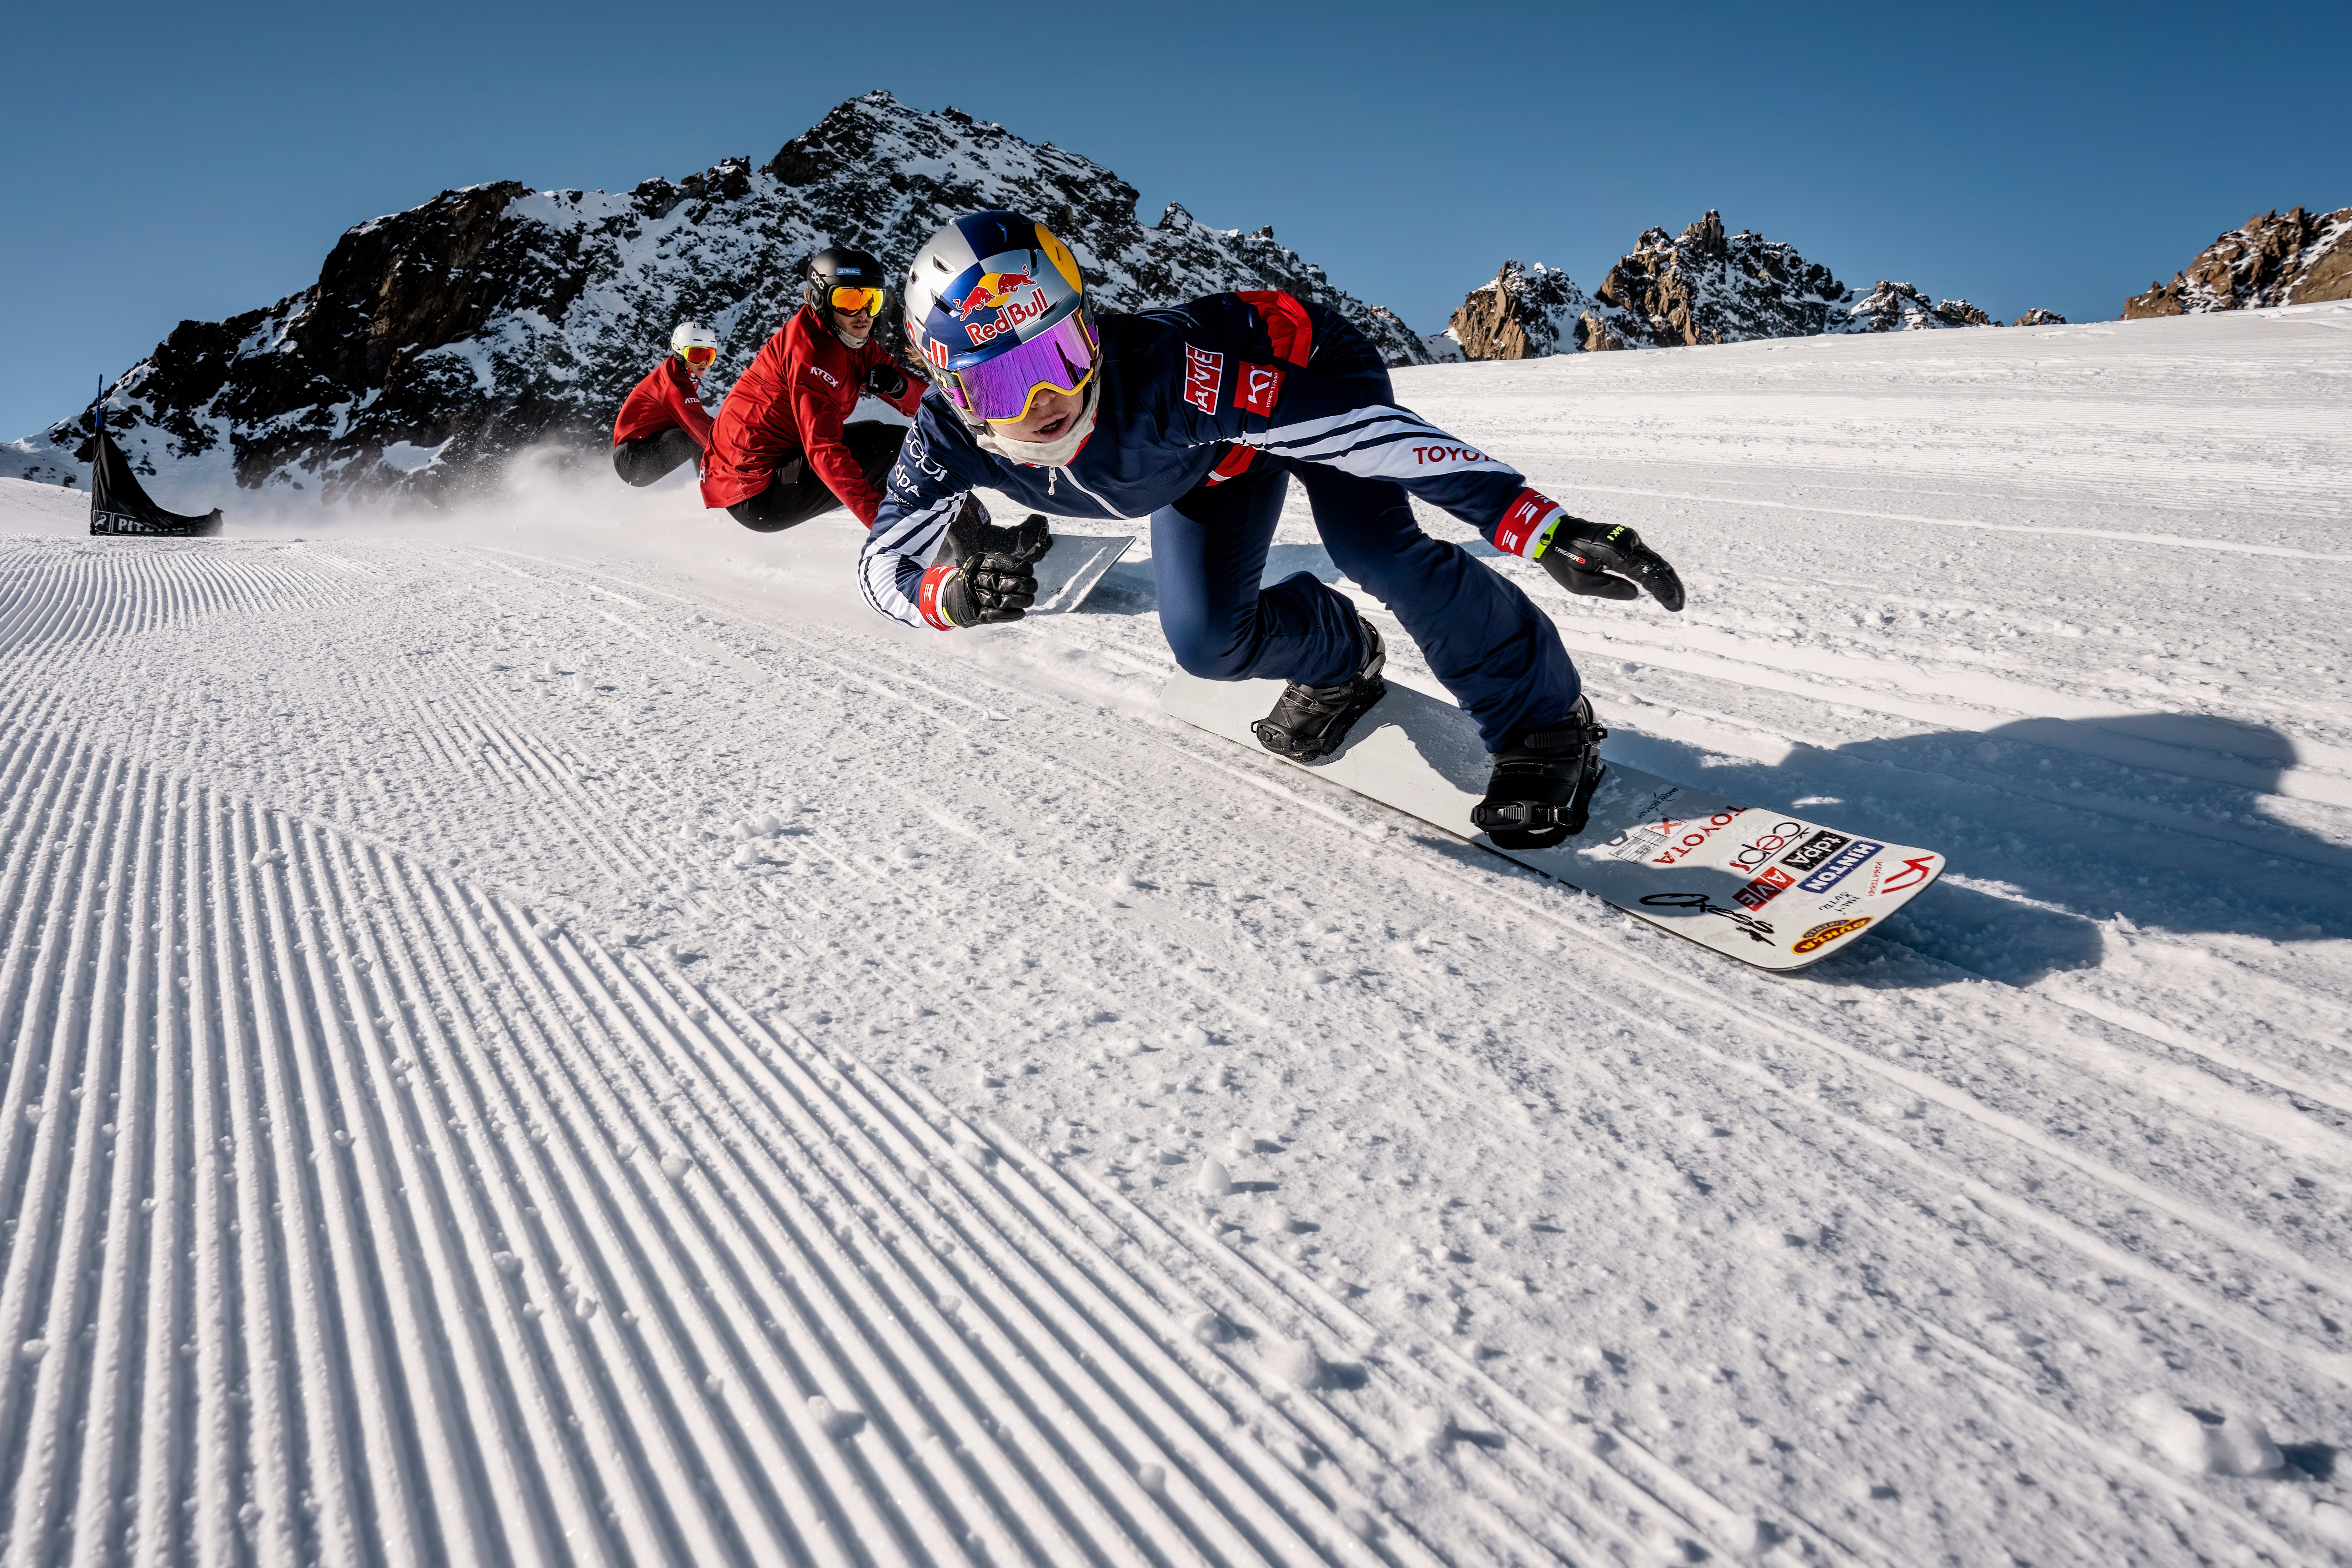
The edge of your snowboard is your main tool for carving. When you tip your board onto its edge, it cuts through the snow and follows the sidecut (the curved shape of the snowboard). The deeper the edge angle, the tighter your turn.
Body Position
Your body should stay centered over the board, with knees bent and back straight. Lean too far back or forward, and you’ll lose balance. Your head and shoulders should face downhill, while your hips and knees help guide the board through the turn.
Weight Distribution
Good carvers shift their weight smoothly from one edge to the other. As you enter a turn, apply gentle pressure to your toes (for toe-side turns) or heels (for heel-side turns). The pressure should be even and controlled, not sudden.
Timing
Start the turn slowly and increase the edge angle as you move through the arc. Sudden movements can make you lose grip. Practice makes perfect, so take your time.
Step-by-step Guide To Snowboard Carving
Carving is a skill that builds with practice. Here is a step-by-step approach to help you learn how to do a snowboard carve:
1. Find The Right Slope
Pick a gentle, wide run with few people. Steep or crowded slopes are harder for practicing new skills.
2. Start With Basic Turns
Warm up with some normal turns. Focus on smooth, controlled movements and staying balanced over your board.
3. Set Up For The Turn
As you approach your turn, bend your knees slightly and keep your weight centered. Look where you want to go.
4. Engage The Edge
To start carving, tip your board onto its edge by pressing down gently with your toes or heels. The goal is to dig the edge into the snow without skidding.
5. Guide The Board
Let your board follow its natural curve. Don’t twist or force it. Use your hips and knees to help the board turn.
6. Increase Edge Angle
As you move through the turn, increase the edge angle to cut a deeper line. You should feel the board gripping the snow.
7. Finish The Turn
As you finish the turn, smoothly shift your weight to prepare for the next edge. Your board should change edges with minimal sliding.
8. Link Your Carves
Try to connect several carves in a row, flowing from edge to edge. Focus on smooth transitions and keeping your speed under control.
Common Mistakes And How To Fix Them
Many beginners struggle with the same problems when learning to carve. Here’s how to avoid them:
- Leaning back: This makes your turns sloppy and hard to control. Keep your weight centered or slightly forward.
- Skidding the tail: If your board slides sideways, you’re not committing enough to the edge. Try to trust your edge more.
- Stiff legs: Locking your knees makes it harder to absorb bumps. Stay relaxed and flexible.
- Looking down: Keep your head up and look toward the next turn, not at your feet.
- Switching edges too late: Change edges smoothly before you lose speed, not after.
A non-obvious tip: Many people focus only on their feet. But your hips and shoulders also play a big role. Turning your upper body in the direction of the carve helps the board follow a cleaner arc.
Practicing Your Carves: Drills And Tips
Mastering carving takes time and repetition. Here are some practical drills to help you improve:
The Edge Hold Drill
Pick a gentle slope and try to ride on one edge for as long as possible, without switching. This helps you feel how much grip and control you have.
The S-turn Drill
Link small S-shaped turns by focusing on smooth edge changes. Try to keep your speed even and control your line.
Speed Control Drill
Practice carving at different speeds. Start slow and increase your speed as you gain confidence. Carving at higher speeds requires more commitment to the edge.
Video Yourself
Ask a friend to film you. Watching your own riding is one of the fastest ways to spot mistakes and improve.
Ride Different Conditions
Try carving on groomed runs, icy patches, and soft snow. Each surface teaches you new skills and builds confidence.
Advanced Carving Tips
Once you’re comfortable with basic carving, you can work on more advanced skills.
Dynamic Carving
This is when you make deep, powerful turns with your body close to the snow. It requires good balance and strong edge control. Push your knees into the hill and use your whole body to flex and extend through the turn.
Cross-under Turns
Instead of moving your body over the board, let the board pass under you as you change edges. This technique keeps you low and stable, and helps you link turns quickly.
Adjusting For Board Type
Some boards are made for aggressive carving, with a deep sidecut and stiff flex. If you ride a freestyle board, you may need to work harder to hold a clean edge, but it’s still possible to carve well with practice.
Recognize Your Limits
Carving is fun, but pushing too hard can lead to falls, especially on icy slopes. Always ride within your ability, and give yourself time to rest if you feel tired.
Safety Tips For Carving
Carving increases your speed, so safety is important. Here are key points to remember:
- Check your speed: Carving can make you go faster than normal turns. Keep your speed under control.
- Stay aware: Look ahead for other riders and obstacles.
- Wear protection: A helmet is a must. Consider wrist guards and impact shorts for extra safety.
- Know your limits: Don’t try deep carves on steep or icy slopes until you are ready.
- Edge maintenance: Dull edges can cause sudden slips, especially on hard snow.
How Carving Compares To Other Turns
Carving is different from sliding turns and skidded turns. Here’s a quick comparison:
| Turn Type | Edge Use | Snowboard Movement | Best For |
|---|---|---|---|
| Carved Turn | Full edge engagement | Minimal sideways slip | Speed, control, style |
| Sliding Turn | Partial edge use | Board slides sideways | Slowing down, beginners |
| Skidded Turn | Some edge, some base | Some slip, some grip | Learning control |
Notice that carved turns are smoother and faster, but require more skill and commitment.
When Should You Start Learning To Carve?
A common beginner question is: “When should I start carving?” The answer is, as soon as you can link turns confidently and control your speed. You don’t need to be advanced. Even intermediate riders can start working on carving basics. Carving will actually help you progress faster, since it builds edge control and balance.
Progress Tracking: Signs You’re Improving
How do you know your carving skills are getting better? Here are some signs:
- Your turns leave clean lines in the snow, not wide, messy tracks.
- You can link turns smoothly without skidding.
- You feel stable and balanced, even at higher speeds.
- You can control your speed without sliding sideways.
- You enjoy the feeling of the edge gripping the snow.
A non-obvious insight: Some days, snow conditions make carving harder. Don’t judge your progress based on one bad day. Track your improvement over several sessions.
Staying Motivated And Having Fun
Learning to carve can be frustrating at times, but it’s also very rewarding. Set small goals, like linking three clean carves or maintaining edge hold for a whole run. Celebrate your wins, and don’t compare yourself to others. Every snowboarder progresses at a different pace.
Try riding with friends who are also learning to carve, or join a lesson for extra tips from instructors.
If you want to see expert carvers in action, check out the World Snowboard Federation’s official site for videos and event info: World Snowboard Federation.
Frequently Asked Questions
What Is The Best Snowboard Stance For Carving?
A slightly forward stance, such as 15° on the front foot and 9° on the back foot, is helpful. It allows you to apply more pressure to the edges and keeps your knees comfortable during deep turns.
Do I Need A Special Snowboard To Carve?
While any snowboard can carve, boards with a medium to stiff flex and a directional or all-mountain shape are best. They offer better edge hold and stability at speed.
How Do I Know If I Am Carving Correctly?
If your board leaves thin, clean lines in the snow and you feel the edge gripping without sliding, you are carving. Your speed should be smooth, and you should feel in control during each turn.
How Do I Avoid Catching An Edge When Carving?
Keep your weight centered, commit fully to one edge at a time, and avoid sudden movements. Make sure your edges are sharp, and don’t try to switch edges too quickly.
Can Carving Help Me Ride Steeper Slopes?
Yes, carving gives you better speed control and stability, which makes it easier to handle steeper terrain. Start on gentle slopes and work up to steeper runs as your confidence grows.
Snowboard carving is a skill that transforms your riding. With practice, patience, and the right mindset, anyone can learn to carve and enjoy the unique feeling of gliding smoothly down the mountain. Stay safe, keep learning, and have fun on your snowboard journey!
