
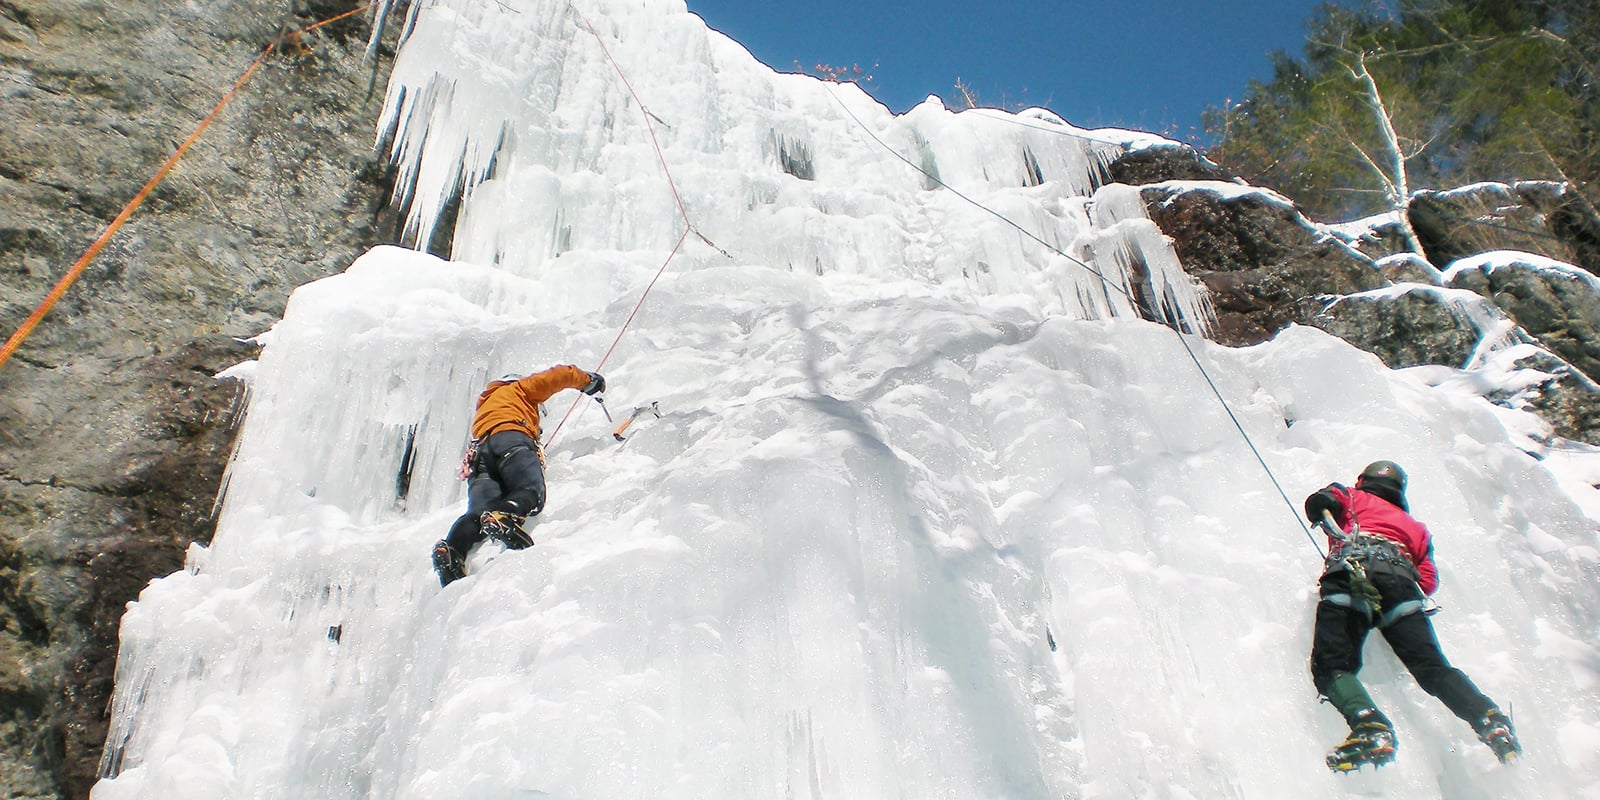
When you finally reach the top of an icy climb, the sense of accomplishment is powerful. But a true ice climber knows that the job isn’t done until you’re back on safe ground. The descent is often more dangerous than the climb itself.
Mistakes here can lead to injuries or worse. Knowing how to descend safely after ice climbing is just as important as your technical climbing skills. This guide breaks down every key step, common pitfalls, and practical advice for a confident and secure descent.
Why Safe Descent Matters In Ice Climbing
Descending after ice climbing is not just “going down.” Ice routes are often exposed, cold, and unpredictable. On average, about 40% of climbing accidents happen during descent, according to the American Alpine Club. Ice, snow, and mixed terrain make slips or equipment failure more likely. The right descent plan can mean the difference between a successful day and an emergency.
Descent Methods In Ice Climbing
There are several ways to descend after ice climbing. The method you choose depends on the route, your equipment, and the conditions.
| Descent Method | Best For | Main Risks |
|---|---|---|
| Rappelling | Steep/vertical ice | Anchor failure, stuck ropes |
| Downclimbing | Gentle/moderate slopes | Slips, fatigue |
| Walking Off | Non-technical, easy terrain | Hidden crevasses, loose snow |
You may use one or a mix of these methods during your descent.
Planning Your Descent Before You Climb
One of the most common mistakes is not planning the descent before starting your ice climb. Always:
- Study the route: Know if there are fixed anchors, v-threads, or if you’ll need to build your own.
- Check weather and daylight: Descending in the dark or a storm increases risk.
- Discuss with your partner: Make sure everyone understands the plan and possible alternatives.
For example, if you know a storm is expected by afternoon, plan to be off the route before it hits.
Key Gear For Safe Descent
Having the right equipment is crucial for a safe descent. At a minimum, you need:
- Harness: Must be comfortable and double-backed.
- Belay device: Figure-eight, ATC, or assisted-braking device.
- Locking carabiners: Minimum two, preferably more.
- Slings/cordelette: For building or backing up anchors.
- Ice screws: For v-thread anchors or backup.
- Prusik or autoblock cord: For backup while rappelling.
- Helmet: Protects from falling ice.
- Headlamp: In case of late descent.
Carrying extra cord or webbing can save the day if you need to leave gear for an anchor.
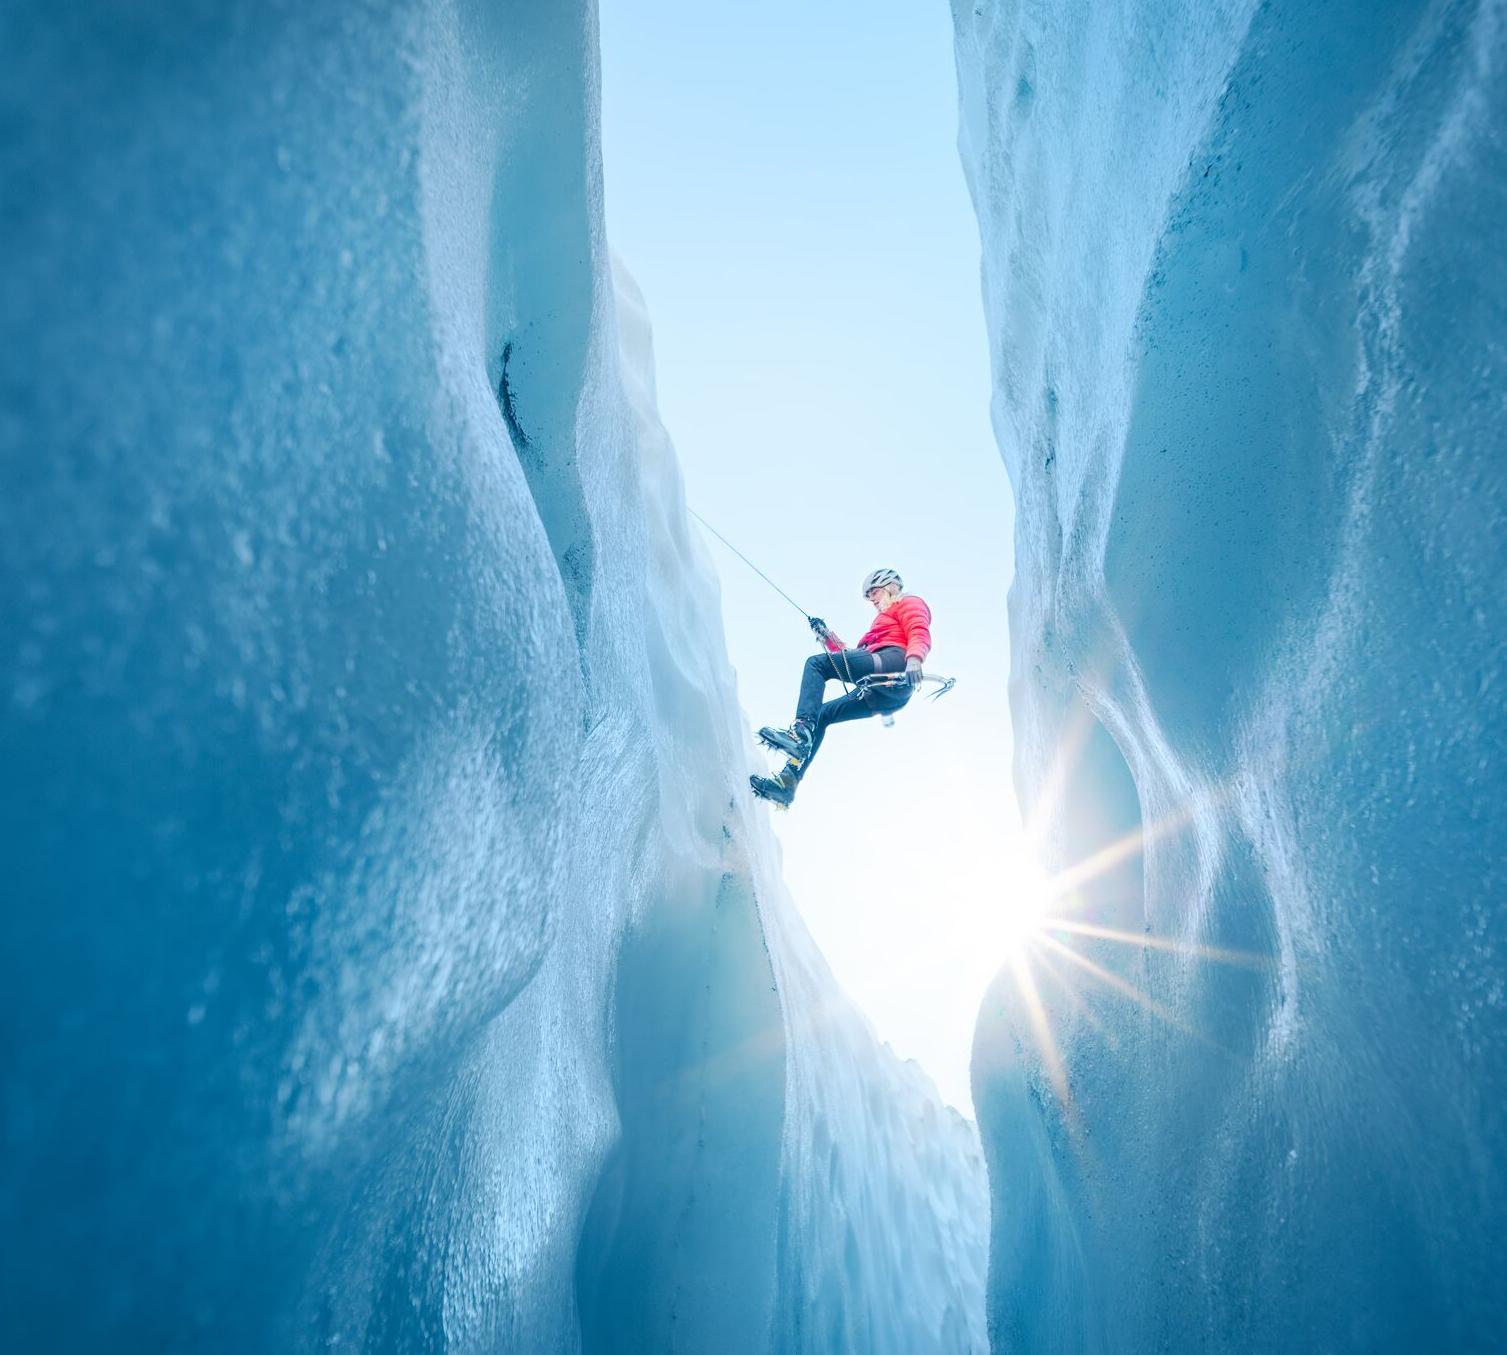
Step-by-step: Safe Rappelling On Ice
Rappelling is the most common descent on steep ice. But ice adds dangers like sharp edges, cold affecting ropes, and falling debris. Here’s how to rappel safely:
1. Choose Or Build A Solid Anchor
If there’s no fixed anchor, make a v-thread (also called Abalakov anchor) by drilling two intersecting holes in the ice and threading a loop of cord. Test it by weighting it gently before committing.
2. Backup The Anchor
Whenever possible, use two anchors or back up with an ice screw for the first person down. The last climber can remove the backup.
3. Set Up The Rappel
Thread the rope through the anchor. Make sure both ends reach the next station or the ground. Tie knots at the rope ends to prevent rappelling off the end.
4. Use A Friction Backup
Attach a prusik or autoblock below your device. It can stop you if you lose control. Many accidents happen when gloves slip or hands get numb.
5. Test Everything
Weight the rope gently to check the system before unclipping from the anchor.
6. Control Your Descent
Move slowly. Use your legs to push away from the ice, staying upright. Avoid knocking loose ice onto your partner below.
7. Clear Communication
Agree on commands like “off rappel,” “rope free,” and “rope!” before dropping the rope.
8. Retrieve The Rope Safely
After both climbers are down, pull the rope carefully. Stand away from the fall line to avoid falling ice or rope ends.
Practical Example
On a 60-meter ice pitch, you set a v-thread with backup. Both climbers rappel with prusik backups. The second climber removes the ice screw backup before descending. Each checks the rope ends are knotted and in reach. After both are down, the team pulls the rope while standing to the side.
Downclimbing: When And How To Do It Right
Downclimbing is sometimes safer than rappelling on lower-angle ice or snow. It requires confidence and skill. Here’s how to do it well:
- Face the ice: Move slowly, using crampon points and ice tools for stability.
- Shorten your tools: Choke up on your ice axes for more control.
- Three points of contact: Always keep three limbs in contact with the ice.
- Rest often: Downclimbing uses different muscles and can tire you quickly.
- Protect tricky sections: Place an ice screw or use natural features for protection if needed.
Many climbers skip practicing downclimbing. Doing it regularly in safe conditions makes you more skilled for emergencies.
Walking Off: Safe Techniques On Snow And Mixed Terrain
Not all ice climbs end on vertical terrain. Sometimes you’ll need to walk off down snow slopes, ridges, or mixed ground. Here’s how to stay safe:
- Check the terrain: Look for avalanche risk, cornices, or hidden crevasses.
- Use crampons carefully: On softer snow, consider removing them to avoid tripping.
- Test each step: Probe snow bridges with your tool before stepping.
- Move together: On glaciers or dangerous snow, rope up with your partner.
- Stay alert: Fatigue can make you careless—this is when accidents often happen.
A common beginner error is relaxing too soon on “easy” terrain. More accidents happen here than on technical ice.
Anchor Types And When To Trust Them
Your life often depends on the anchor you use for descent. Here are the main types:
| Anchor Type | Strength (approx.) | When to Trust |
|---|---|---|
| V-Thread (Abalakov) | 12-22 kN | Solid, clear ice |
| Ice Screw | 15-20 kN | Good ice, proper placement |
| Fixed Anchor (bolt/tree) | Varies | Visually inspect, back up if unsure |
Never trust old or mysterious anchors without testing. If in doubt, back it up or build your own.
Special Hazards On Ice Descents
Even experienced climbers miss some dangers:
- Rope freezing to ice: Wet ropes can freeze into the surface, making retrieval hard. Flick the rope as you pull and avoid letting it sit on wet ice.
- Falling ice: Rappelling can knock loose chunks. Wear a helmet and stand clear when your partner descends.
- Rope running over sharp edges: Protect ropes from sharp ice or rock by padding with gear or snow.
- Cold hands and fatigue: Numb fingers increase rappel mistakes. Take short breaks to warm up.
Emergency Scenarios And What To Do
Despite planning, things can go wrong. Know how to react:
1. Stuck Rope
If your rope jams, do not climb unprotected to free it. Try flicking from below or ascending the rope with prusiks if safe.
2. Failed Anchor
Always have extra materials to build a new anchor. If you’re out of gear, look for natural features or consider waiting for help.
3. Injury During Descent
If a partner is hurt, focus on stabilizing them and call for rescue if possible. Having a small first aid kit can help.
Practicing these scenarios in a safe place prepares you for real emergencies.
Non-obvious Insights For Ice Climbing Descents
Many climbers focus only on the climb. But experienced teams know:
- Retreat often takes longer than expected. Set a turnaround time and stick to it, leaving a margin for slow descents.
- Check rope compatibility with rappel devices in cold. Some devices get very slick or sticky with wet, icy ropes.
- Pre-rigging rappel before leaving the anchor saves time and keeps the descent organized.
These details can save time and reduce stress in tough conditions.
Training And Practice For Better Descents
Descending on ice is a skill you can improve. Practice in controlled settings:
- Simulate rappelling with prusik backups at a local crag.
- Practice building v-threads on safe ice before you need them for real.
- Downclimb easy ice routes to build confidence.
Consider taking an alpine skills course from a certified guide to learn advanced techniques.

Final Safety Checklist Before Every Descent
Before you start down, always:
- Check anchors for strength and security.
- Confirm rope length is enough for each pitch.
- Tie knots in rope ends.
- Use a backup (prusik/autoblock) while rappelling.
- Communicate clearly with your partner.
- Carry all essential gear and backups.
A few extra minutes double-checking can prevent hours of trouble.
Frequently Asked Questions
How Do You Make A V-thread Anchor In Ice?
To make a v-thread, drill two holes in solid ice at a 45-degree angle until they meet. Thread a loop of strong cord through the holes, tie the ends securely, and clip your rope through the loop. Test the anchor with gentle weight before committing.
How Do You Avoid Getting Your Rope Stuck During Descent?
To avoid a stuck rope, always pull it from the side with less friction, avoid sharp edges, and flick the rope as you pull. Knots or twists can jam, so keep the ropes flaked and straight while setting up. If your rope does get stuck, try flicking it sharply before considering climbing up to free it.
Is Rappelling Or Downclimbing Safer After Ice Climbing?
It depends on the terrain and conditions. Rappelling is safer on steep, vertical ice but carries risks like anchor failure and falling debris. Downclimbing is safer on low-angle sections but requires skill and strength. Always choose the method best for the situation and your abilities.
What Should You Do If Your Descent Anchor Looks Weak?
If your anchor looks weak, always back it up with another anchor like an ice screw, or build a new one if possible. Never trust a single poor anchor. Take time to test and inspect before committing to the descent.
Where Can I Learn More About Ice Climbing Safety?
You can learn more about ice climbing safety from certified guides, climbing schools, and trusted organizations. For in-depth resources, see the American Alpine Club, which shares reports and best practices.
Descending safely after ice climbing takes planning, skill, and constant attention. When you respect the descent as much as the climb, you protect yourself and your partner—and make sure every adventure ends well.
