
Ice hockey is a fast, intense sport. Players race, turn, and change direction in an instant. One skill sets great players apart: stopping on the ice. If you’ve ever watched a game, you’ve seen the quick spray of snow when a skater comes to a halt. But how do ice hockey players actually stop? It’s not just about balance or speed—it’s a mix of technique, muscle control, and practice.
Exclusive Deals
Limited-time Exclusive Deals. Check current discount on Amazon.
Check Price on Amazon As an Amazon Associate I earn from qualifying purchases.Understanding how to stop safely and quickly is key for anyone learning hockey. For beginners, stopping on ice feels unnatural. The surface is slippery, and the skates have no brakes. Mastering this skill boosts confidence and prevents injuries. Below, you’ll discover the main stopping techniques, step-by-step instructions, common mistakes, and tips to improve your skills.
Why Stopping Matters In Ice Hockey
Stopping is more than just pausing your movement. In hockey, the ability to stop suddenly can mean the difference between making a play or missing it. Players need to:
- React quickly to opponents and the puck
- Change direction instantly
- Protect themselves from collisions
A strong stop helps you stay in control, avoid penalties, and play better defense. Even the pros spend time perfecting their stops because small mistakes can lead to big problems on the ice.
Exclusive Deals
Limited-time Exclusive Deals. Check current discount on Amazon.
Check Price on Amazon As an Amazon Associate I earn from qualifying purchases.The Main Ways Hockey Players Stop
There are several techniques that skaters use. Each has its advantages, and choosing the right one depends on your speed, position, and situation.
| Stopping Technique | Difficulty | Best For |
|---|---|---|
| Snowplow Stop | Easy | Beginners, low speed |
| Hockey Stop | Medium | Quick stops, all levels |
| T-Stop | Medium | Slow speed, learning edges |
| One-Foot Stop | Advanced | Sharp turns, high skill |
1. Snowplow Stop
This is the first stop most new players learn. You keep your skates in a “V” shape, with the toes pointing in and heels out. You bend your knees and push out with both feet, scraping the inside edges of your blades on the ice.
- Good for: Slow speeds and building confidence
- Downside: Hard to use at high speed or in tight spaces
2. Hockey Stop
This is the classic stop you see in games. Both skates turn sideways, and you dig into the ice with the inside edge of one skate and the outside edge of the other. Your body rotates, and your knees bend deeply to absorb the force.
Exclusive Deals
Limited-time Exclusive Deals. Check current discount on Amazon.
Check Price on Amazon As an Amazon Associate I earn from qualifying purchases.- Good for: Quick stops, changing direction fast
- Downside: Takes time and practice to master
3. T-stop
Here, one skate glides forward while the other forms a “T” behind it, dragging across the ice to slow down. It’s less common in games but helps you learn edge control.
- Good for: Slow, controlled stops; learning edge use
- Downside: Not effective at high speed
4. One-foot Stop
Advanced players use this stop, balancing on one foot while sliding the other skate sideways. It allows for sharp turns and quick escapes.
- Good for: Skilled players, advanced maneuvers
- Downside: Hard to balance, not for beginners
Step-by-step: How To Do A Hockey Stop
The hockey stop is the most useful technique. Here’s how you can learn it safely:
- Start Slow: Glide forward at a comfortable speed.
- Bend Your Knees: Get low for balance and power.
- Rotate Your Hips and Shoulders: Turn your body sideways, facing the direction you want to stop.
- Turn Both Skates Sideways: Push out with your lead foot (inside edge) and support with your back foot (outside edge).
- Apply Pressure: Dig into the ice with both blades, creating friction.
- Lean Into the Stop: Don’t lean back or you’ll fall; your weight should be centered or slightly forward.
- Practice Both Sides: Learn to stop left and right, so you’re ready in any situation.
It’s normal to lose balance at first. Start slow, and focus on technique before adding speed.
Common Mistakes Beginners Make
Learning to stop on ice isn’t easy. Here are mistakes new players often make:
- Leaning back: This causes you to fall.
- Standing too upright: Stay low for control.
- Not turning both feet: If only one foot turns, you’ll spin instead of stopping.
- Not practicing both sides: You need to stop left and right.
Many skaters also forget to keep their knees bent. This position absorbs the force and keeps you stable.
How Equipment Affects Stopping
The type and fit of your equipment can help or hurt your stopping ability.
| Equipment | Impact on Stopping |
|---|---|
| Skate Sharpening | Dull blades slip; sharp edges grip the ice for strong stops. |
| Boot Fit | Loose boots reduce control; snug boots improve response. |
| Blade Hollow | Deeper hollow = more grip, shallower = easier glide but less stop power. |
A common beginner mistake is skating with dull blades. Always check your skates before practice.
Tips To Improve Your Stopping Skills
Improving at stopping takes more than just time. Here are some expert tips:
- Practice on both legs: Don’t get comfortable with just one side.
- Watch slow-motion videos: Seeing the stop in detail helps you understand body position.
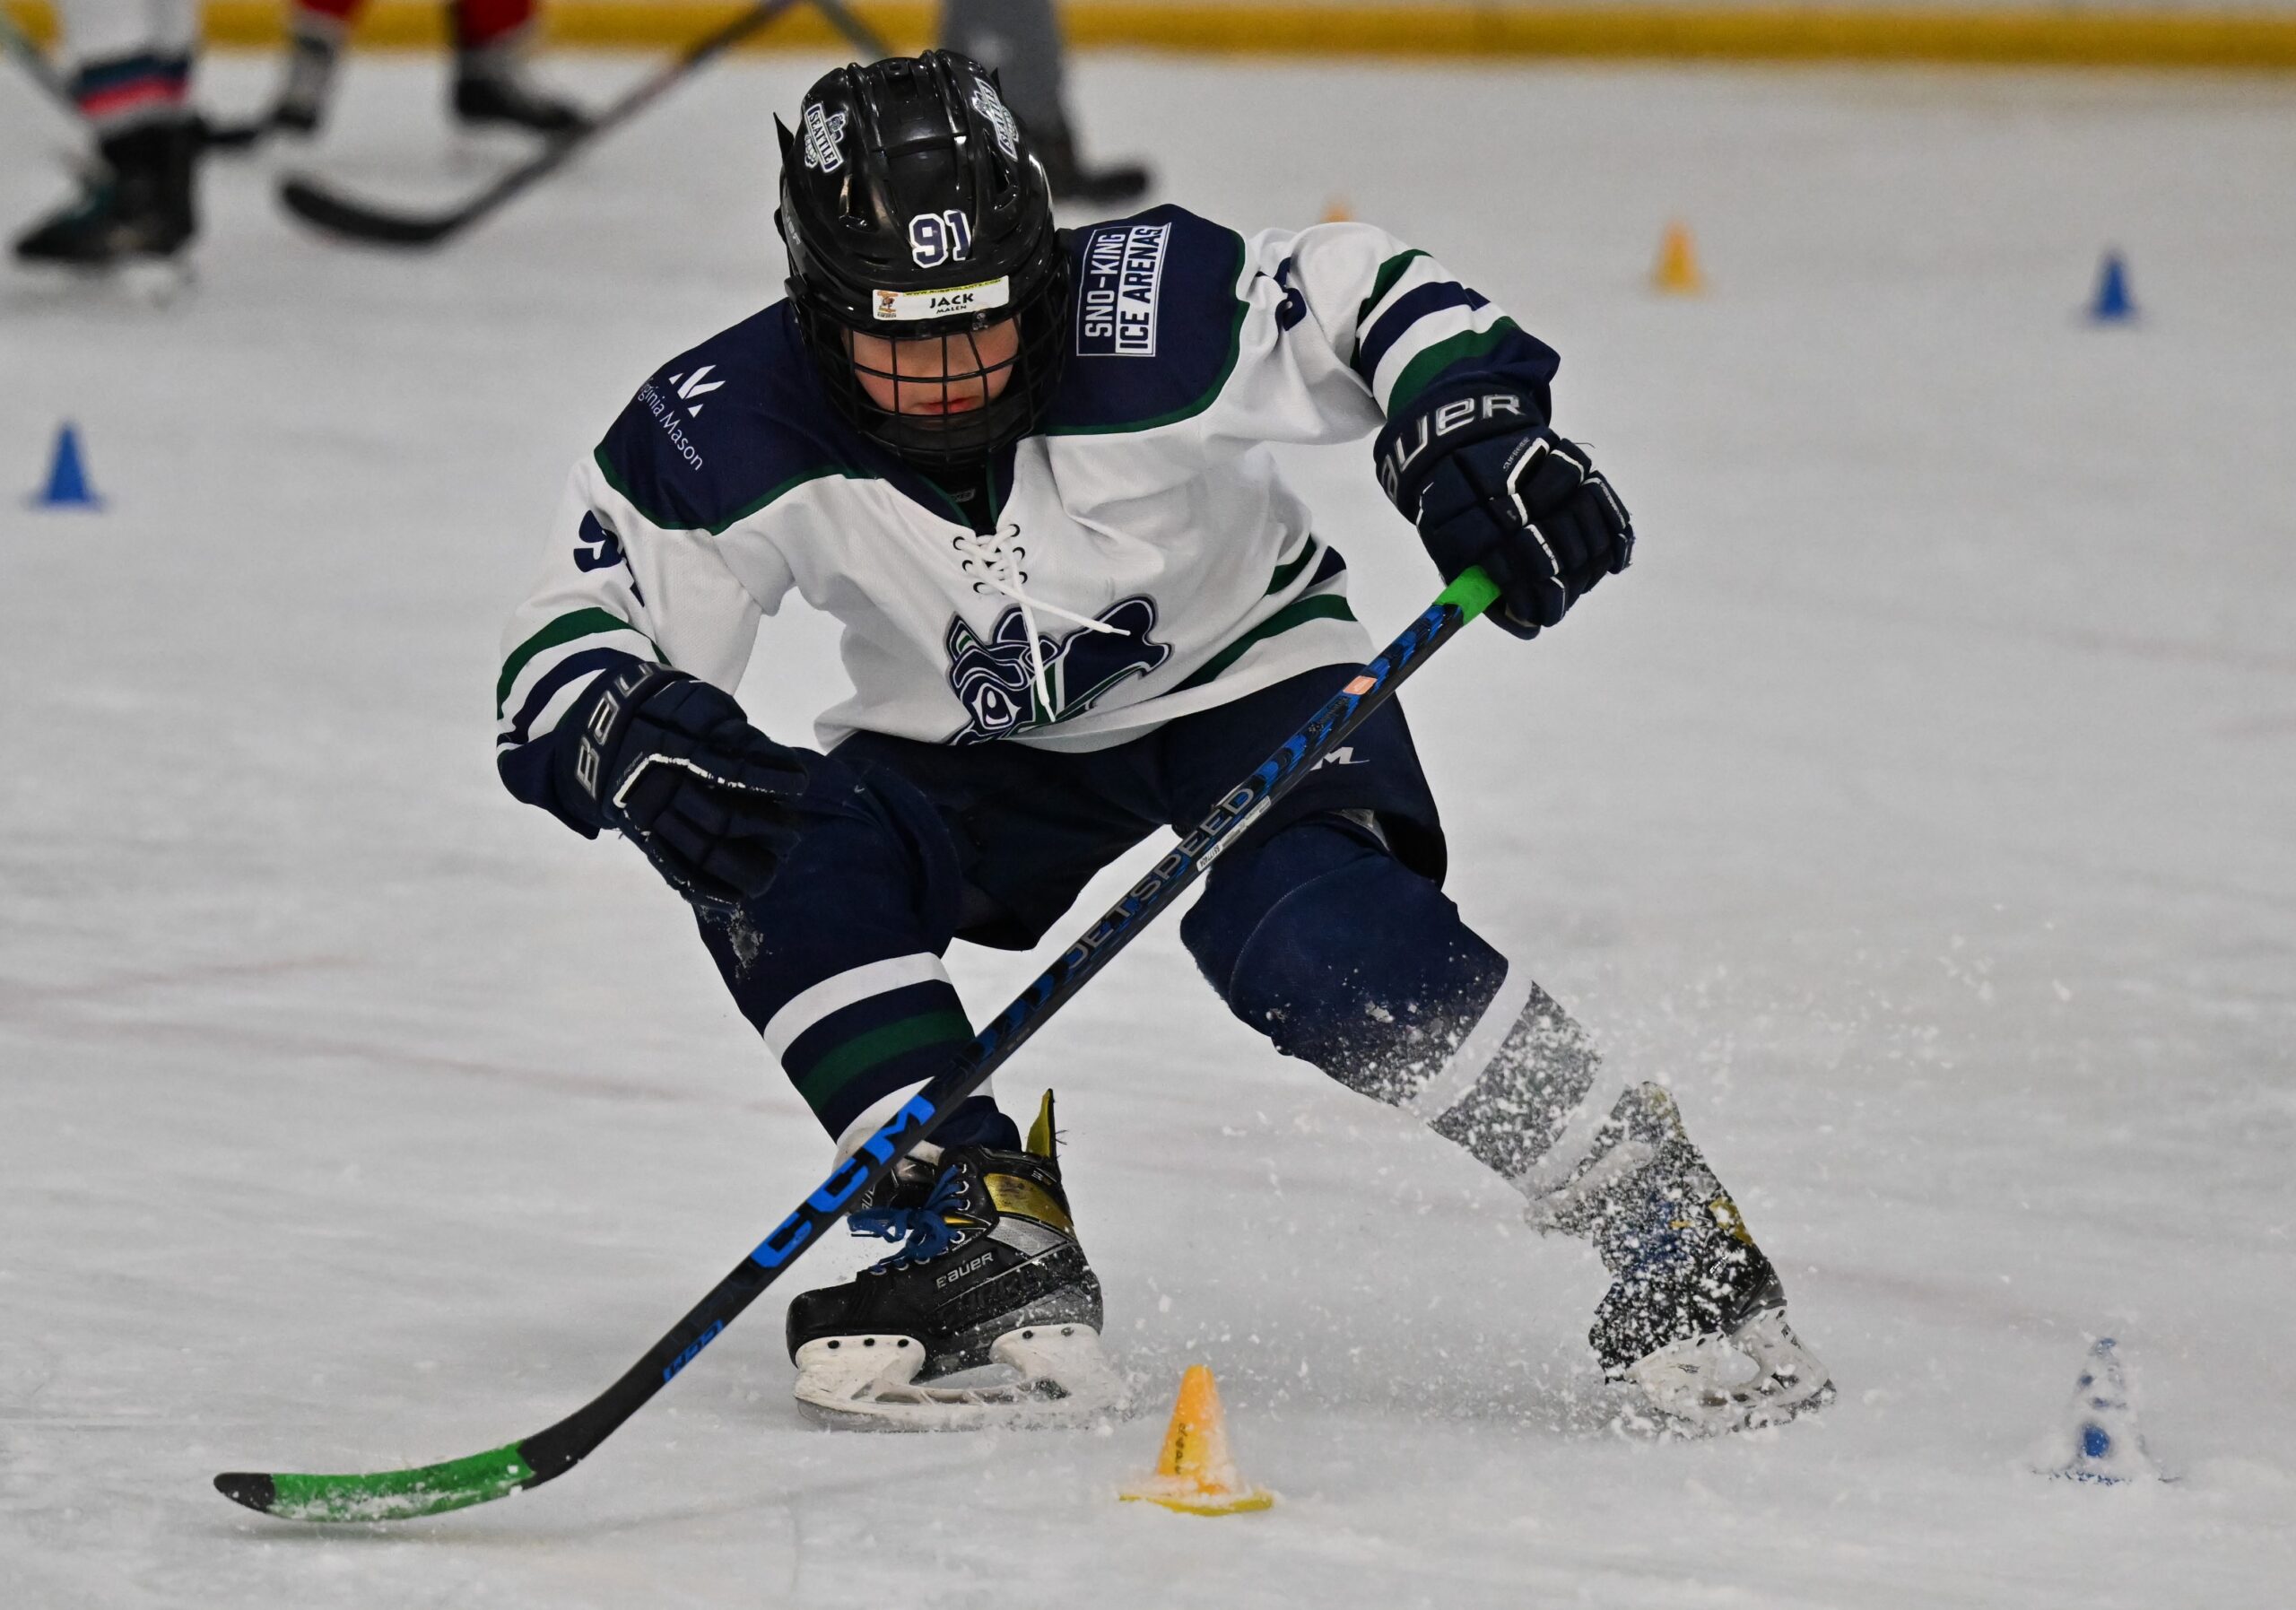
- Use cones or markers: Set targets to stop at, not just random spots.
- Strengthen your legs: Strong quads and glutes help you dig into the ice.
- Ask for feedback: Coaches and advanced players can spot small errors you miss.
One non-obvious insight: Focus on relaxing your upper body during the stop. Tension makes your movements stiff and unbalanced.
Another tip: Many players forget to look where they want to stop. Your body follows your head, so keep your eyes up and look in the direction you wish to go or stop.
Advanced Stops And Transitions
As you gain skill, you’ll need to blend stops into other moves. For example, a defenseman may stop, then instantly skate backward. Forwards often use a stop-turn to shake defenders.
Elite players can also “power stop” with one foot, or use both edges to create sudden shifts. These skills take hundreds of hours to master but give a big advantage in games.
Safety And Injury Prevention
Improper stopping can lead to injuries, especially knee and ankle twists. Always wear full protective gear when practicing. If you fall, try to land on your side or hip, not your outstretched arm.
Warming up before practice reduces the risk of muscle pulls. If you feel pain during stops, check your form and equipment.
For more on the science of skating, see this Wikipedia article on ice hockey skates.

Frequently Asked Questions
How Long Does It Take To Learn To Stop On Ice Skates?
Most beginners need 2–4 weeks of regular practice to stop confidently using the basic techniques. Mastering the hockey stop can take several months.
Can You Stop Suddenly At High Speed?
Yes, with practice. The hockey stop allows fast, sudden stops, but requires strong legs, good balance, and sharp skates.
Why Do My Skates Slip When I Try To Stop?
Slipping usually means your blades are too dull or your technique needs work. Make sure your skates are sharpened and that you are bending your knees.
Is It Harder To Stop On Figure Skates Or Hockey Skates?
It’s usually easier on hockey skates because the blades are shorter and have more pronounced edges, which help grip the ice.
Should I Practice Stopping With Or Without A Stick?
Both. Start without the stick to learn balance, then add it to practice real-game situations.
Stopping on ice is a skill that opens up your game and keeps you safe. With the right technique, equipment, and practice, you’ll soon be stopping like the pros.

